Everything You Need to Know About Outdoor Kitchens (Before You Spend a Fortune)
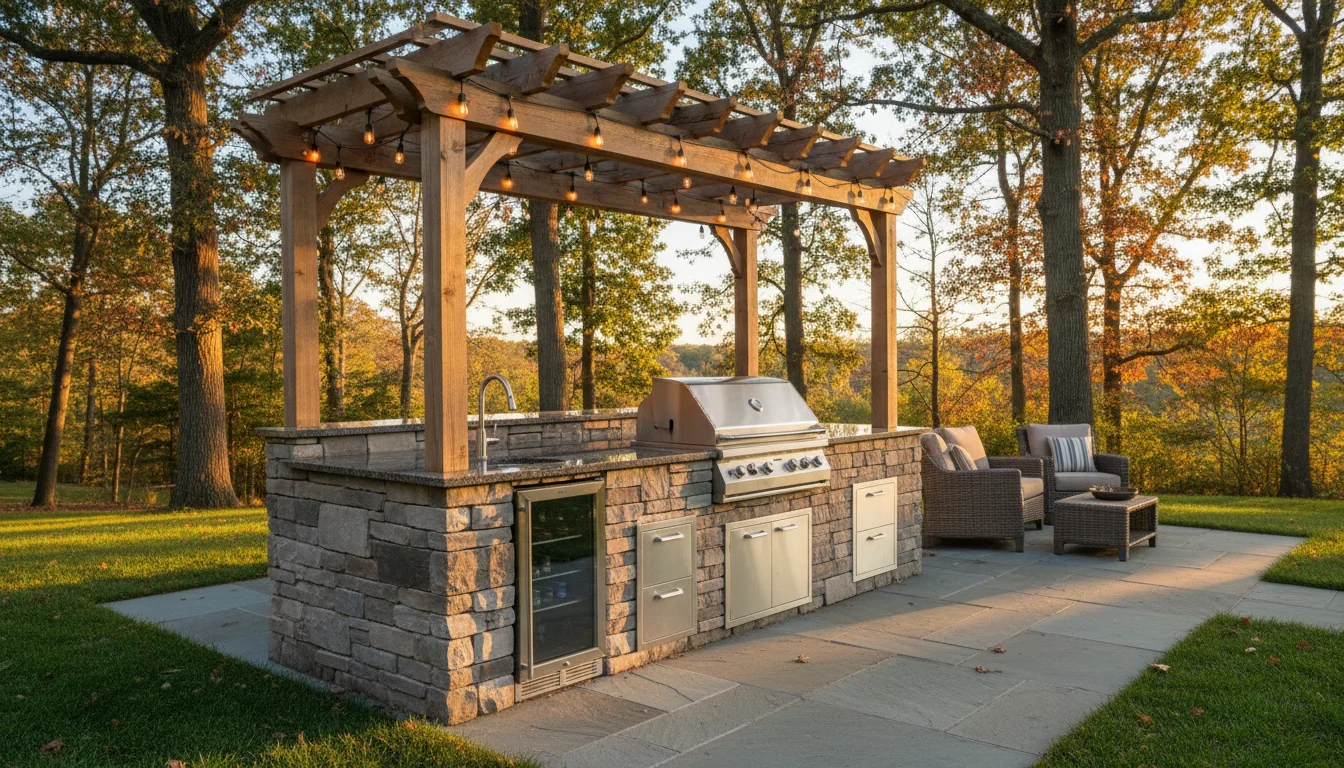
An outdoor kitchen is a permanent, built-in cooking and entertaining space that typically includes a grill island, countertops, storage, and utility connections for gas, water, and electricity. Getting it right the first time requires planning around layout, material durability, local permits, and New England weather. Here's what to consider before you commit.
Most homeowners who call us about an outdoor kitchen have a vision - they want to cook outside, entertain friends, and stop running back and forth through the sliding door every time they need a plate or a pair of tongs. That's a great starting point. But between the vision and the finished space, there are decisions that can make or break the whole project.
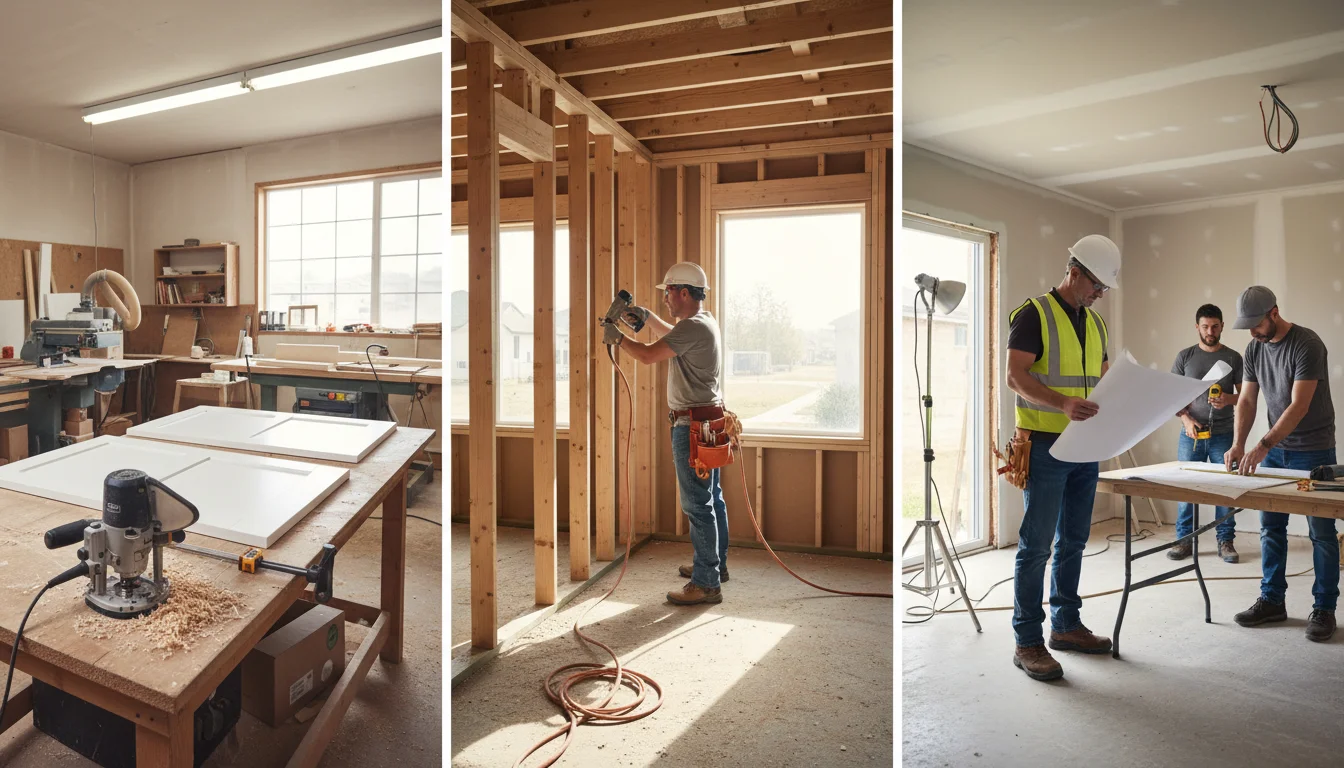
At CabStone, we design and build custom outdoor kitchens across the Boston North Shore from our shop in Middleton, MA. This outdoor kitchen guide walks through everything we wish our clients knew before the first meeting - layout options, materials that survive Massachusetts winters, the appliances worth investing in, and the permits you'll need to pull.
What Layout Works Best for an Outdoor Kitchen?
The best outdoor kitchen layout depends on your yard size, how you cook, and how many people you typically entertain. Most residential builds fall into one of four configurations: straight-line, L-shape, U-shape, or island. Each has trade-offs between counter space, traffic flow, and construction complexity.
Before we talk about materials or appliances, we need to talk about shape. Your layout determines how everything else fits together - where the grill goes, where guests stand, and where utilities need to run.
Straight-Line (Single Wall)
This is the most common setup and the most practical for smaller patios. Everything sits along one wall or runs in a single island. You get your grill, a stretch of counter space, and maybe a small sink or storage cabinet. It's efficient to build because utilities run in only one direction, keeping the footprint compact. The trade-off? Limited prep space, and you're cooking with your back to guests.
L-Shape
An L-shaped layout wraps around a corner, creating a natural separation between the cooking zone and the serving or prep area. This works well on larger patios and creates a spot where guests can lean on the counter and talk to the cook without being in the way. We build a lot of L-shapes on the North Shore because most backyards here have a patio that naturally lends itself to a corner configuration.
U-Shape
The U-shape gives you the most counter space and creates an enclosed work area where the cook has everything within arm's reach. It's great for serious home chefs, but it needs a bigger footprint and more utility runs. You're essentially building three connected walls, which means more materials and more labor.
Island (Freestanding)
A freestanding island sits in the middle of your patio space, separate from any wall or structure. This creates a social hub where people can stand on all sides. The challenge is running utilities - gas, water, and electricity all need to come up through the ground rather than along an existing wall, which adds to the project scope.
| Layout | Best For | Counter Space | Utility Complexity | Minimum Patio Size |
| Straight-line | Smaller patios, focused grilling | Moderate | Low | 8 ft x 12 ft |
| L-shape | Medium patios, cooking + entertaining | Good | Moderate | 12 ft x 14 ft |
| U-shape | Large patios, serious home chefs | Excellent | High | 14 ft x 16 ft |
| Island | Open entertaining, social cooking | Moderate to good | High (underground runs) | 16 ft x 16 ft |
What Materials Actually Survive New England Weather?
Outdoor kitchen materials must withstand freeze-thaw cycles, heavy rain, snow loads, coastal salt air, and intense summer sun without cracking, rusting, or warping. On the North Shore, that means marine-grade stainless steel for appliances, granite or porcelain for countertops, and concrete block or steel stud framing for the base structure.
This is where many outdoor kitchen projects go wrong. People pick materials based on how they look in a showroom, not how they'll hold up after three Massachusetts winters. We've torn out plenty of outdoor kitchens built with the wrong materials.
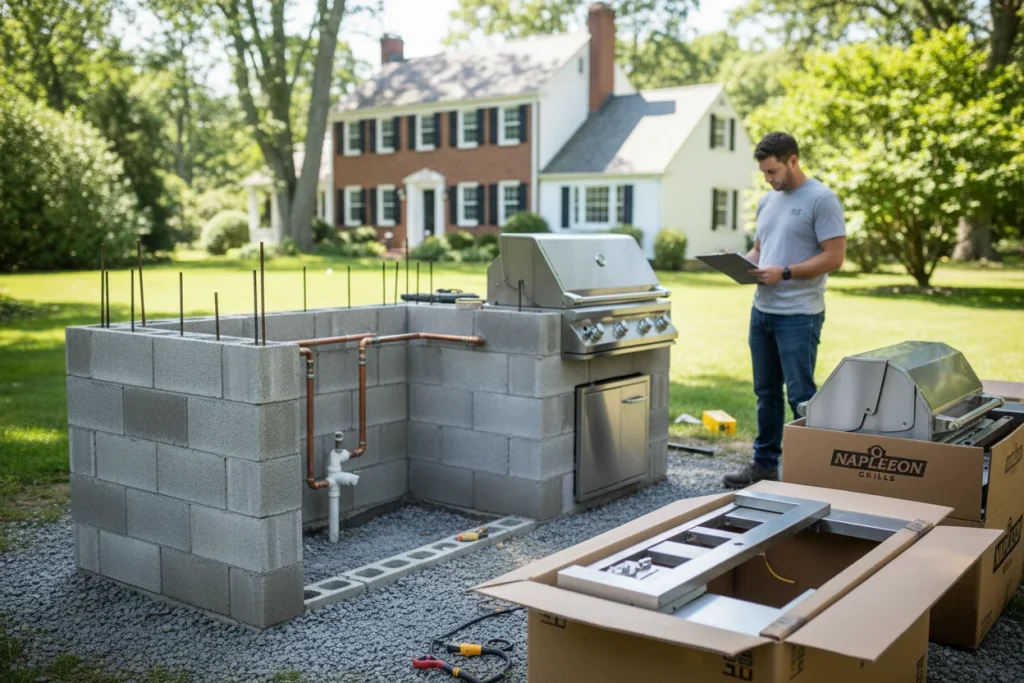
Base Structure (The Frame)
The skeleton of your outdoor kitchen island needs to be completely non-combustible and weather-resistant. We build with concrete block or galvanized steel studs, never wood framing. Wood rots, attracts pests, and creates a fire hazard behind a grill that can hit temperatures above 700 degrees. The base gets finished with stone veneer, stucco, brick, or tile, depending on the look you're going for and what matches your home's exterior.
Countertops
Granite is our go-to recommendation for outdoor kitchen countertops on the North Shore. It handles temperature swings, doesn't stain easily when sealed properly, and looks sharp for years. Porcelain slab is another solid option - it won't absorb moisture and resists UV fading better than most natural stone. Concrete countertops are popular, but they require regular sealing and can crack in freeze-thaw cycles if the sealant fails. We steer most clients away from marble and limestone outdoors because they're porous and don't hold up to New England's climate.
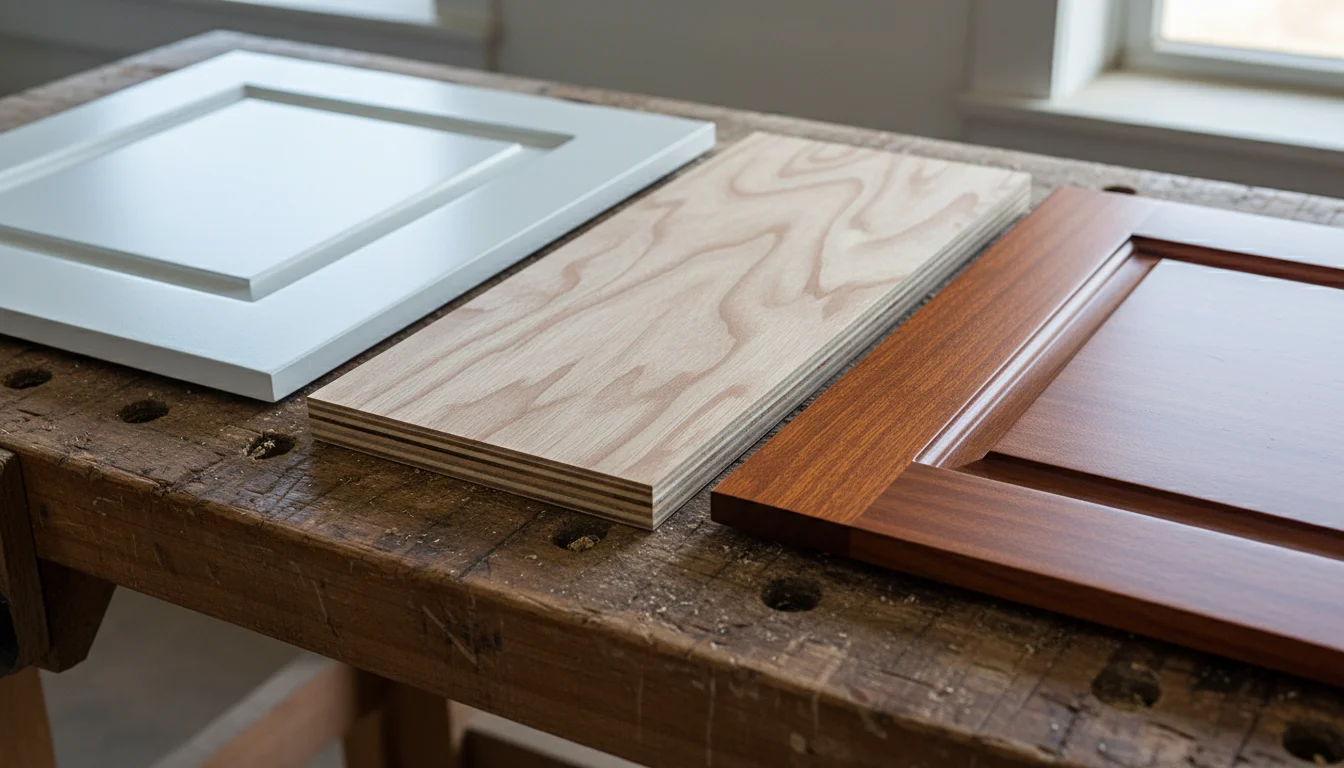
Cabinetry and Storage
Outdoor cabinetry needs to be a completely different animal than what goes in your indoor kitchen. We use marine-grade stainless steel doors and drawers for outdoor builds. The 304-grade stainless steel resists corrosion from rain and humidity, and it cleans up easily after a season of use. If you're also doing an indoor kitchen project, that's where our cabinet maker team uses MDF, plywood, and hardwood species - but those materials have no place outside.
| Material | Application | Weather Resistance | Maintenance Level | Lifespan Outdoors |
| Granite | Countertops | Excellent (seal annually) | Low | 20+ years |
| Porcelain slab | Countertops | Excellent | Very low | 20+ years |
| Concrete | Countertops | Good (if sealed consistently) | Moderate to high | 10-15 years |
| 304 stainless steel | Doors, drawers, frames | Excellent | Low (wipe down seasonally) | 15-20+ years |
| Concrete block | Island base/frame | Excellent | Very low | 25+ years |
| Stone veneer | Island exterior finish | Good to excellent | Low | 15-20+ years |
Which Appliances and Features Are Actually Worth It?
A built-in grill is the centerpiece of every outdoor kitchen, but the features that deliver the most daily value are a prep sink with running water, adequate counter space on both sides of the grill, and task lighting. Everything else is worth considering, but not essential for a functional cooking space.
Here's where the wish list can spiral fast. We've seen clients try to fit a pizza oven, smoker, kegerator, ice maker, warming drawer, and built-in blender into a single island. Sound familiar? Let's talk about what you'll actually use.
The Grill (Non-Negotiable)
Your built-in grill is the single most important decision. Built-in models are designed to drop into a cutout in your island, with the grill head sitting flush with the countertop. You'll choose between gas (natural gas line from the house or propane) and charcoal, though the overwhelming majority of our clients go with gas for convenience. Look for 304 stainless steel construction, at least three burners for zone cooking, and a minimum of 500 square inches of primary cooking surface for a family of four. Brands vary widely in quality - don't just shop by BTU output. Burner design, grate thickness, and warranty coverage matter more.
Prep Sink and Running Water
A small sink with hot and cold running water transforms an outdoor kitchen from a grill station into a real cooking space. You can wash produce, rinse hands, and clean up without going inside. It requires a water supply line, drain line, and potentially a hot water connection. On the North Shore, we also need to account for winterization - the water lines get blown out with compressed air before the first freeze, and shut-off valves inside the house make that process simple.
Features Worth Considering
Beyond the grill and sink, here's what we recommend evaluating based on how you actually cook and entertain:
- Refrigeration: A compact outdoor-rated fridge under the counter keeps drinks and ingredients cold without trips inside. It's the feature most clients say they're glad they added.
- Side burner or power burner: Useful if you regularly cook sauces, soups, or boil water outdoors. Skip it if you're primarily a grill-and-serve cook.
- Pizza oven: Fun and increasingly popular, but it takes up significant counter and island space. We recommend it only if you'll realistically use it at least monthly.
- Smoker: A serious commitment for serious cooks. Requires additional ventilation planning and a larger island footprint.
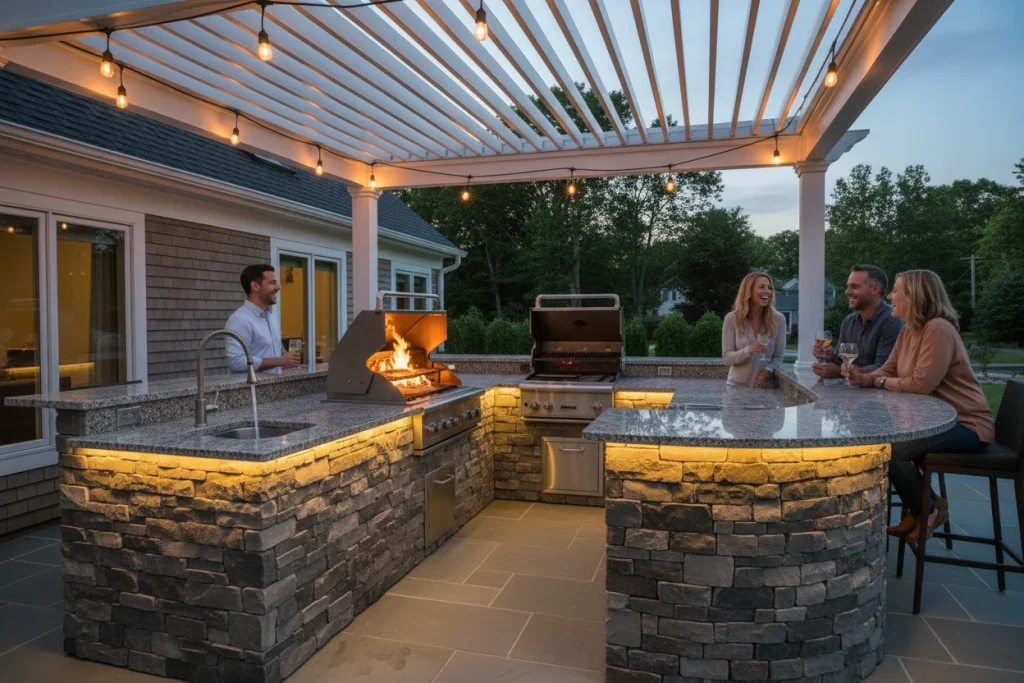
- Bar seating: A countertop overhang on the guest side with stools creates a natural gathering spot. This is one of the highest-value features for entertaining.
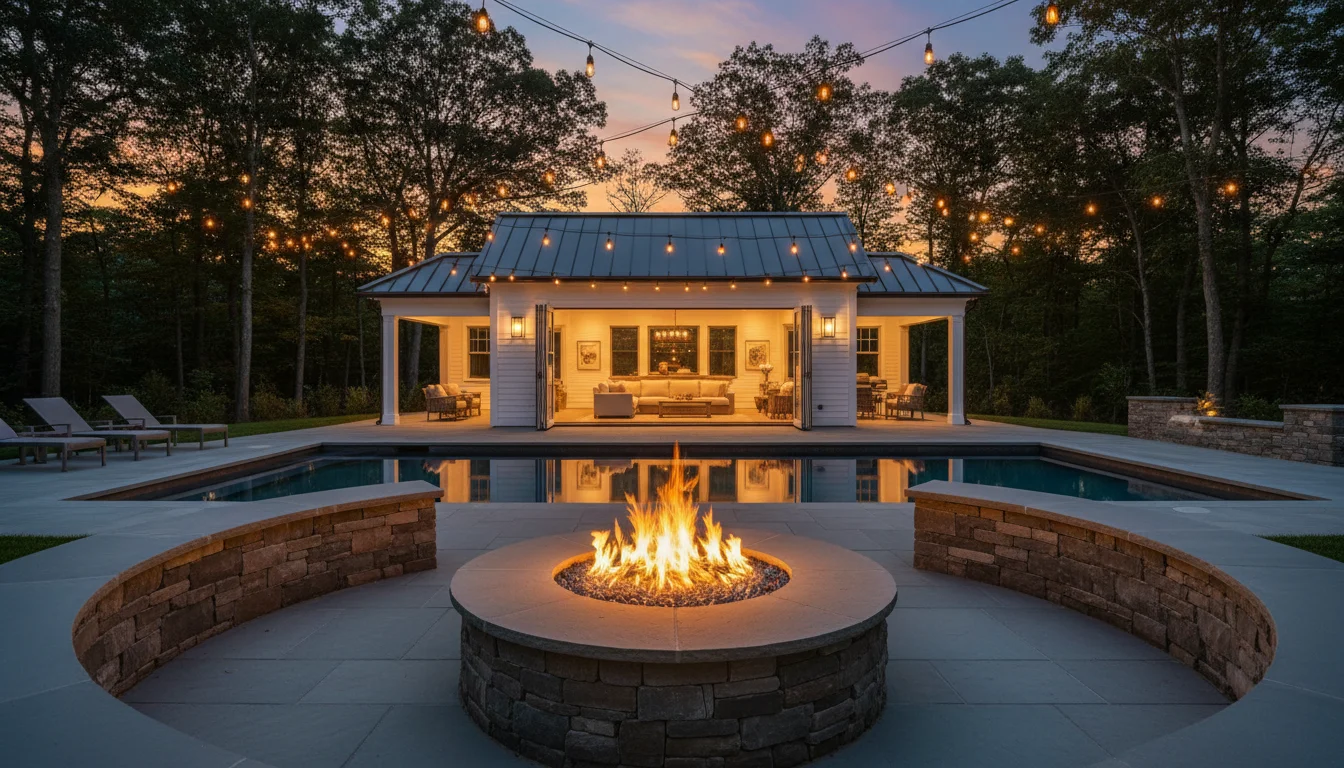
A motorized pergola over the cooking area extends your season by weeks on both ends, keeping rain off in April and blocking harsh sunlight in August. We install these frequently alongside our outdoor kitchen builds as part of a complete outdoor living design.
What About Permits, Utilities, and the Stuff Nobody Talks About?
Most outdoor kitchens in Massachusetts require a building permit, and depending on the scope, you may also need separate gas, plumbing, and electrical permits. Utility planning - where your gas line runs, how water supply and drainage connect, and how electrical is routed - should happen during the design phase, not after construction starts.
This is the section that separates a backyard DIY grill island from a professionally built outdoor cooking space. And honestly? It's the part most online guides skip entirely.
Permits and Inspections
In Massachusetts, any structure that involves gas connections, electrical work, or plumbing requires permits and inspections. That includes outdoor kitchens. The building permit covers the structure itself, and then you'll typically need separate trade permits for gas (handled by a licensed plumber or gas fitter), electrical (licensed electrician), and plumbing if you're adding a sink and drain. Your outdoor living contractor should pull all of these and coordinate the inspections. If someone tells you permits aren't needed for an outdoor kitchen with utilities, that's a red flag.
Gas Line Planning
Most built-in grills run on natural gas, which means running a dedicated gas line from your home's existing supply to the island location. This needs to be sized correctly - an undersized gas line means the grill won't reach full temperature, and your side burner might not fire at all if the grill is running. A licensed gas fitter sizes the line based on the total BTU demand of all connected appliances.
Propane is an alternative if a natural gas line isn't available or practical, but it means managing tank refills or scheduling propane delivery. For permanent outdoor kitchens, we recommend natural gas whenever the home's supply can support it.
Electrical
You'll want at least one dedicated outdoor-rated GFCI outlet near the island for the fridge, rotisserie motor, or any other plug-in accessories. Task lighting above the cooking surface makes a huge difference once the sun goes down, and we typically wire that on a separate switch. All outdoor electrical work needs to meet code for weather-rated enclosures and proper grounding.
Water Supply and Drainage
If your outdoor kitchen includes a sink, you need both a supply line and a drain. The drain can either tie into your home's existing plumbing or route to a dry well, depending on local code and your yard's layout. We install shut-off valves inside the house and add hose bib connections at the island for easy winterization. Every fall, the lines get blown out with compressed air to prevent frozen and burst pipes - a standard part of maintaining any outdoor plumbing in Massachusetts.
Winterization and Seasonal Care
New England outdoor kitchens need an annual closing routine. That includes blowing out water lines, disconnecting and storing any removable components, covering the grill and countertops with fitted covers, and inspecting the stone veneer or base material for any freeze-thaw damage from the previous season. We walk our clients through this process at project completion, and most people handle it themselves once they've done it once. It takes about an hour.
| Utility/Permit | Who Handles It | When It Happens | Key Consideration |
| Building permit | General contractor (CabStone) | Before any construction begins | Required for the island structure itself |
| Gas permit | Licensed plumber/gas fitter | During the rough-in phase | Line sizing must account for the total BTU demand |
| Electrical permit | Licensed electrician | During the rough-in phase | GFCI protection is required for all outdoor outlets |
| Plumbing permit | Licensed plumber | During the rough-in phase | Plan drain routing and winterization access |
| Final inspection | Building inspector | After all work is complete | Covers structure, utilities, and code compliance |
Key Takeaways
- Choose your layout based on patio size and cooking style before selecting materials or appliances. The layout drives everything else, including utility routing and construction scope.
- Use non-combustible, freeze-thaw-resistant materials for the base, countertops, and cabinetry. Wood framing, marble, and standard indoor cabinets don't survive New England weather.
- The built-in grill is your most important appliance decision. Prioritize stainless steel construction quality and burner design over raw BTU numbers.
- A prep sink with running water is the second most valuable feature in any outdoor kitchen, turning a grill station into a true cooking space.
- Outdoor kitchens on the North Shore require building permits, gas permits, and potentially electrical and plumbing permits. Your contractor should handle this process.
- Plan for winterization from day one. Water lines, gas connections, and countertop surfaces all need seasonal protection in Massachusetts.
Frequently Asked Questions
Do I need a permit to build an outdoor kitchen in Massachusetts?
Yes. Any outdoor kitchen with gas, electrical, or plumbing connections requires a building permit and separate trade permits in Massachusetts. Your contractor should handle the entire permitting process on your behalf.
How long does it take to build an outdoor kitchen from start to finish?
Most residential outdoor kitchens take four to eight weeks from design approval through completion. Permit timelines, weather delays, and appliance lead times can extend the schedule.
Can I use my outdoor kitchen in winter in New England?
The grill and dry features can be used year-round with proper cold weather precautions. Water lines need to be winterized before the first freeze and reactivated in spring.
What's the best countertop material for an outdoor kitchen in Massachusetts?
Granite and porcelain slab are the most durable options for New England's freeze-thaw climate. Both resist moisture absorption, UV fading, and temperature swings better than concrete or natural stone alternatives.
Do I need a natural gas line or can I use propane?
Either works, but natural gas is preferred for permanent outdoor kitchens because you never run out of fuel mid-cook. Propane is a good fallback if a gas line extension isn't practical for your property.
Should I build the outdoor kitchen myself or hire a contractor?
An outdoor kitchen with gas, electric, and plumbing connections should be built by a licensed contractor. The structural, utility, and code requirements are beyond the typical DIY scope, and permits require licensed trade professionals.
What size grill do I need for my outdoor kitchen?
A grill with 500 to 700 square inches of primary cooking surface handles most family cooking and entertaining. Go larger if you regularly cook for groups of 10 or more.
How do I protect my outdoor kitchen during winter?
Annual winterization includes blowing out water lines, covering the grill and countertops with fitted covers, and inspecting the base structure for freeze-thaw damage. Most homeowners handle this in about an hour each fall.
Can I add a sink to my outdoor kitchen?
Yes, and we recommend it for any serious outdoor cooking setup. A sink requires hot and cold water supply lines, a drain connection, and a winterization plan for cold months.
How do I choose between different outdoor kitchen layouts?
Start with your available patio space and your cooking style. Straight-line layouts suit smaller spaces and focused grilling. L-shapes and U-shapes provide more counter space for prep and entertaining. Freestanding islands work best on large, open patios.
Conclusion
An outdoor kitchen is one of the most rewarding projects you can add to your home, but only if the planning matches the ambition. Layout, materials, appliances, utilities, and permits all need to work together from the start. The projects that go sideways are almost always the ones where someone skipped a step early and paid for it later.If you're thinking about an outdoor kitchen on the North Shore or anywhere in the greater Boston area, we'd love to talk through your space and your goals. As a full-service home improvement contractor, CabStone handles design, permitting, and construction under one roof. Call us at 617-699-3945 or visit 325A North Main Street, Middleton, MA 01949.