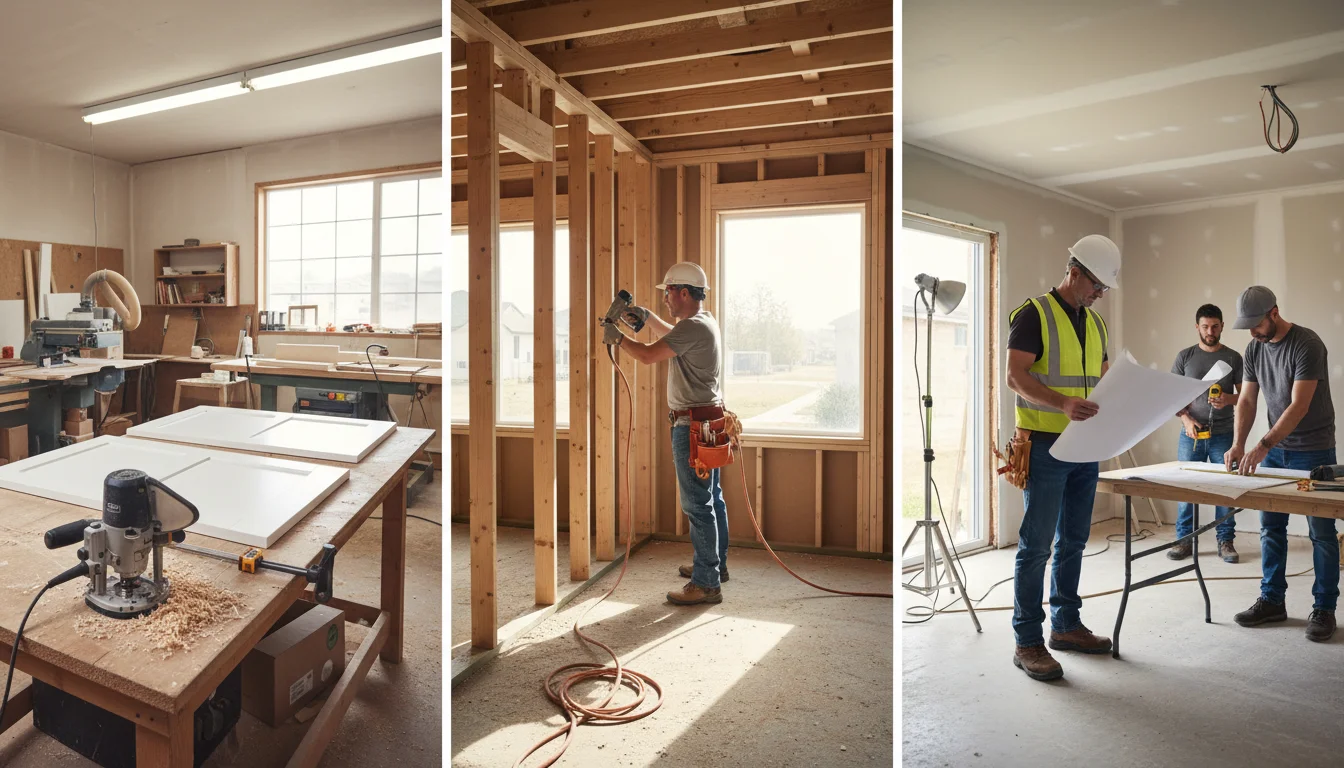
How Cabinet Installation Works: A Step-by-Step Guide for MA Homeowners
Professional cabinet installation follows a precise sequence — wall preparation, layout marking, base cabinets first, then uppers, followed by hardware mounting, door adjustment, and a final punch-list walkthrough. Skipping or rushing any step leads to cabinets that don't close properly, gaps along walls, and drawers that drift open on their own.
Understanding how the process works helps you evaluate whether your contractor is doing the job right — or cutting corners you won't notice until six months after they've cashed the check.
CabStone handles cabinet installation as a core trade, not an afterthought. This guide walks through every phase so you know what to expect, what to watch for, and what questions to ask.
Phase 1: Wall Preparation and Layout
Before a single cabinet gets lifted off the floor, the walls need to be inspected, marked, and, in some cases, repaired. Older Massachusetts homes — colonials, capes, and mid-century ranches — rarely have perfectly plumb walls or level floors, and the installation plan needs to account for that from the start.
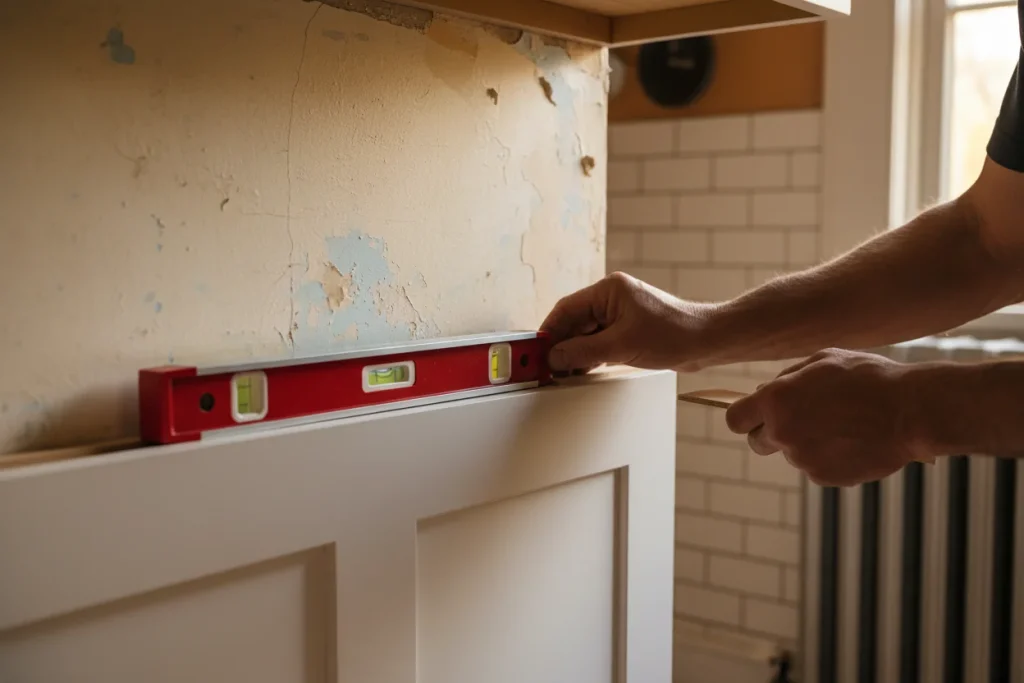
Finding the High Point
Every kitchen installation begins with finding the floor's high point along the wall where the base cabinets will sit. This is done with a long straightedge and a laser level. The high point becomes the reference — all base cabinets get shimmed up to this level, so the countertop surface ends up flat and consistent.
In older North Shore homes, floor variations of 1/2 inch or more across an 8-foot run are common. If the installer skips this step and just starts setting cabinets, you'll end up with a countertop that slopes visibly. We've fixed this exact problem in kitchens installed by contractors who didn't bother to check.
Marking the Layout
With the high point established, we mark horizontal reference lines on the walls at two heights: the top of the base cabinets (typically 34-1/2 inches from the high point) and the bottom of the upper cabinets (usually 54 inches from the floor, giving 19-1/2 inches of backsplash space). These lines guide every cabinet placement.
We also locate and mark all wall studs using a stud finder and confirm them by probing. Cabinets get screwed into studs — not drywall anchors. Upper cabinets loaded with dishes can weigh 200+ pounds. The KCMA quality certification program tests wall-mounted cabinets to withstand 600-pound loads, but that strength assumes proper mounting into structural framing.
Wall Repairs
Walls with significant bowing, crumbling plaster, or missing sections of drywall need repair before cabinets go up. Cabinets can't conform to a wall that dips 3/4 inch — they'll rack, doors won't align, and the scribe trim will have visible gaps. If we identify wall issues during the assessment, we address them before installation day, not during.
| Prep Step | What We Check | Why It Matters |
| Floor high point | Level readings across the full cabinet run | Prevents a sloping countertop |
| Wall plumb | Vertical straightness at all cabinet positions | Ensures doors hang true, no racking |
| Stud locations | Every mounting point is marked and confirmed | Prevents failed upper cabinet mounting |
| Reference lines | Laser-leveled horizontal lines at two heights | Guides precise cabinet placement |
| Wall condition | Plaster integrity, drywall flatness | Prevents gaps and alignment failures |
Phase 2: Base Cabinet Installation
Base cabinets go in first. They sit on the floor, get leveled, shimmed, screwed to the wall studs, and then screwed to each other to create one unified run. This phase sets the foundation — if the bases aren't level and plumb, everything above them will be off.
The Installation Sequence
We start from the corner and work outward. Corner cabinets (lazy Susans, blind corners) are the most complex — they need precise positioning because every adjacent cabinet references off them. Each cabinet gets set in position, checked for level front-to-back and side-to-side, shimmed as needed, and then screwed through the back rail into the wall studs.
After each cabinet is wall-mounted, we clamp adjacent cabinets together and connect them through the face frames using screws. This creates a rigid, unified structure. Any shim gaps at the floor line get covered by the toe kick board later.
Shimming and Leveling
Shimming isn't a hack — it's the proper method for compensating for floor and wall irregularities. Every professional cabinet installer uses shims. The difference between a good install and a bad one is how precisely the shims are placed and whether the installer re-checks the level after every adjustment.
We use composite shims (they won't compress over time like cedar) and score-snap them flush after mounting. Visible shims behind face frames or above cabinet tops indicate sloppy work.
Why Older MA Homes Require Extra Attention
Massachusetts homes built before 1970 commonly have plaster-and-lath walls, uneven plank subfloors, and settling that creates out-of-square conditions. A cabinet installer who's only worked in new construction will struggle with these conditions. We've been installing in North Shore homes long enough to expect the unexpected — and our process accounts for it.
| Base Cabinet Step | Tool Used | Tolerance |
| Position the corner cabinet | Tape measure, speed square | Within 1/16" of layout marks |
| Level front-to-back | 4-foot level | Bubble centered |
| Level side-to-side | 4-foot level | Bubble centered |
| Shim to the high point | Composite shims, torpedo level | No rocking when pressed |
| Screw to wall studs | #10 cabinet screws, 2-1/2" min | Two screws per stud, through the back rail |
| Connect adjacent cabinets | Clamp + face frame screws | Flush front edges, no step |
Phase 3: Upper Cabinet Installation

Upper cabinets get installed after the bases are complete. They're heavier than most homeowners expect, require precise mounting into wall studs, and demand consistent spacing from the base cabinet countertop surface.
The Ledger Board Method
We screw a temporary ledger board to the wall at the reference line marking the bottom of the upper cabinets. This gives us a shelf to rest each upper cabinet on during mounting — instead of two people trying to hold a 60-pound cabinet overhead while driving screws. The ledger ensures every upper sits at exactly the same height.
Mounting Sequence
Like the bases, we start from the corner and work outward. Each cabinet gets hung on the ledger, checked for level and plumb, screwed into studs through the mounting rail, and then connected to adjacent uppers through the face frames.
For upper cabinets, the screw quality matters. We use #10 washer-head cabinet screws — minimum 2-1/2 inches — driven into studs. No drywall anchors. No toggle bolts. Studs only. The dovetail joinery in quality drawer boxes and the soft-close hardware on doors are meaningless if the cabinet itself isn't securely fastened to the wall structure.
Crown Molding and Trim
If the design includes crown molding at the top of the upper cabinets, it gets installed after all the uppers are mounted and connected. Crown molding bridges the gap between the cabinet tops and the ceiling — and since most ceilings in older homes aren't perfectly flat, the crown needs to be scribed and fitted, not just mitered and nailed.
| Upper Cabinet Step | Detail | Common Mistakes to Avoid |
| Installthe ledger board | Temporary, laser-leveled, screwed to studs | Using drywall anchors instead of studs |
| Hang the cabinet on the ledger | Rest on the ledger, drive mounting screws | Mounting without a level check |
| Connect face frames | Clamp flush, screw through stiles | Over-tightening pulls cabinets out of plumb |
| Remove ledger | Fill screw holes, touch up the wall | Leaving holes visible behind the backsplash |
| Install crown molding | Scribe to the ceiling, cope inside corners | Relying on miter-only joints that gap |
Phase 4: Hardware, Doors, and Final Adjustment
Once all cabinets are mounted, the finish work begins — installing drawer slides, mounting doors, adjusting hinges, and making sure every door closes flush and every drawer glides without resistance.
Door Hanging and Hinge Adjustment
Modern concealed hinges (the industry standard for face-frame and frameless cabinets) offer three-axis adjustment: up-down, left-right, and in-out. This adjustability is what allows a skilled installer to get every door gap perfectly even and every door sitting flush when closed. We check every door against its neighbors and adjust until the reveal lines are consistent.
Soft-close hinges are standard on CabStone installations. They prevent slamming, reduce wear, and are the feature most homeowners notice first in a quality kitchen.
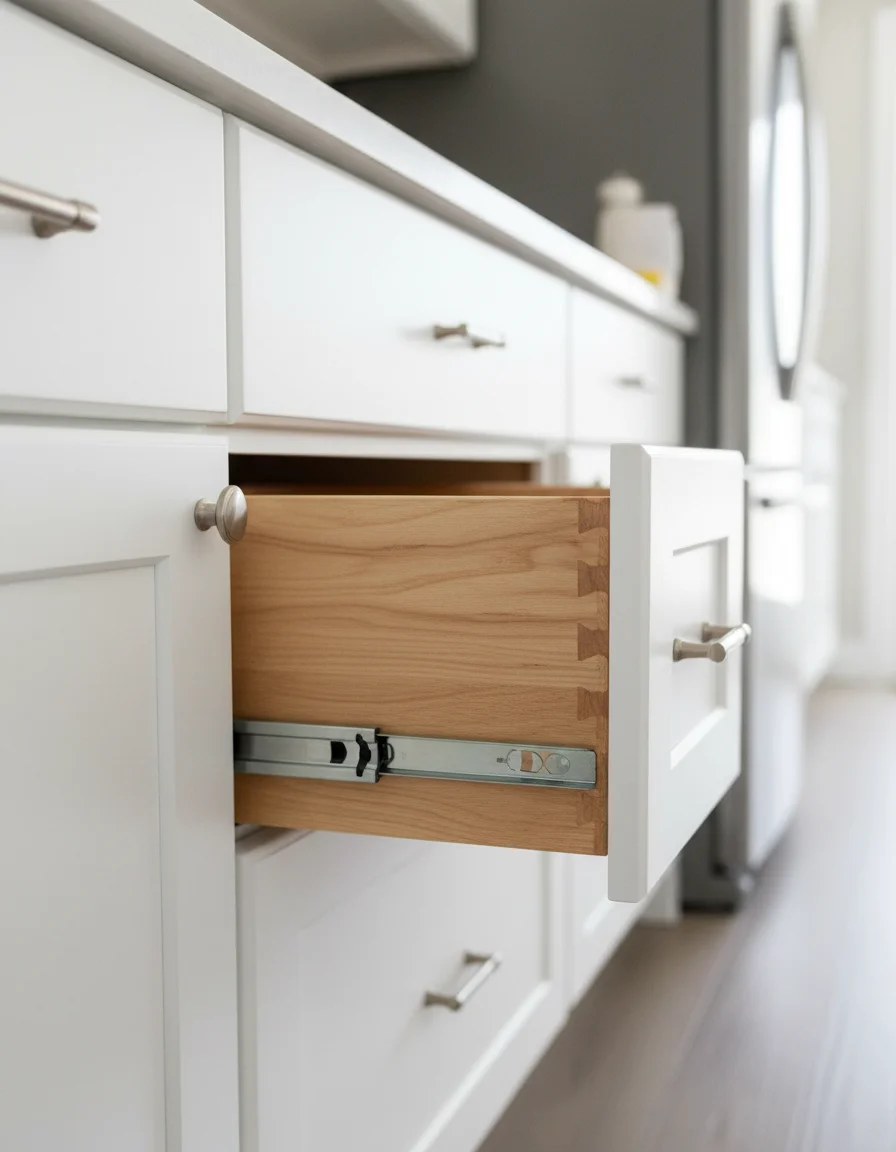
Drawer Installation
Drawer boxes — especially those with dovetail construction — slide onto undermount or side-mount slides. Undermount slides are the current standard for quality installations: they're invisible when the drawer is open, support heavier loads, and include soft-close mechanisms. We test every drawer for smooth operation, consistent closing force, and proper alignment.
The Punch List Walkthrough
After all hardware is installed and every door and drawer is adjusted, we do a room-by-room walkthrough with the homeowner. We check every cabinet for level, every door for alignment, every drawer for smooth operation, and every piece of trim for fit. Any adjustments, touch-ups, or corrections happen on the spot — not after a follow-up appointment two weeks later.
This walkthrough is where quality reveals itself. A contractor who rushes past it or skips it entirely is a contractor who doesn't want you looking too closely.
Key Takeaways
- Professional cabinet installation follows a strict sequence — floor leveling, wall prep, base cabinets, upper cabinets, hardware, then punch list. Skipping any step creates compounding problems.
- Older Massachusetts homes require extra shimming and wall preparation — plaster walls, uneven floors, and settling are standard conditions, not exceptions.
- Upper cabinets must be mounted into wall studs — the KCMA tests certified cabinets to 600-pound loads, but only when properly fastened to structural framing.
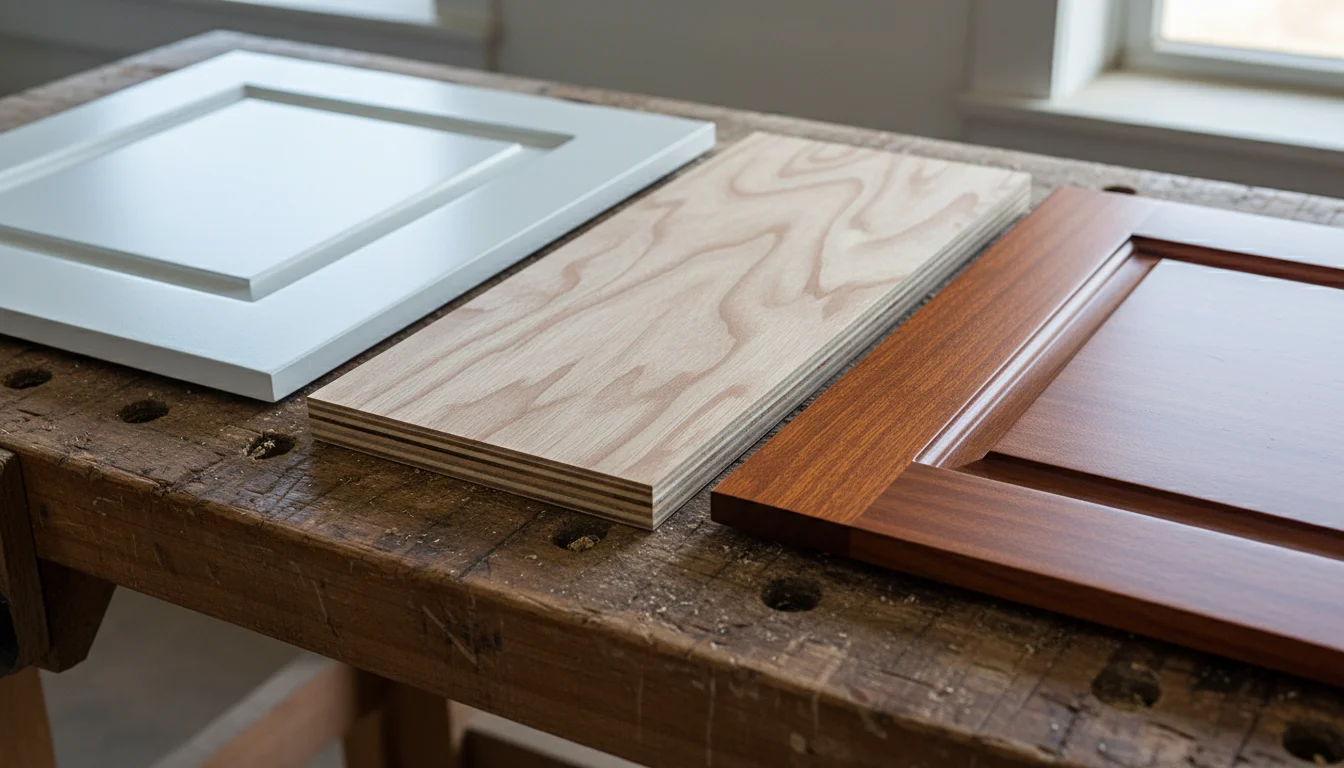
- Dovetail drawer construction and soft-close hardware are quality indicators, but they only matter if the cabinet box itself is level, plumb, and securely mounted.
- The same team that builds your cabinets should install them — handoff between fabricator and installer is where most miscommunication and fit issues occur.
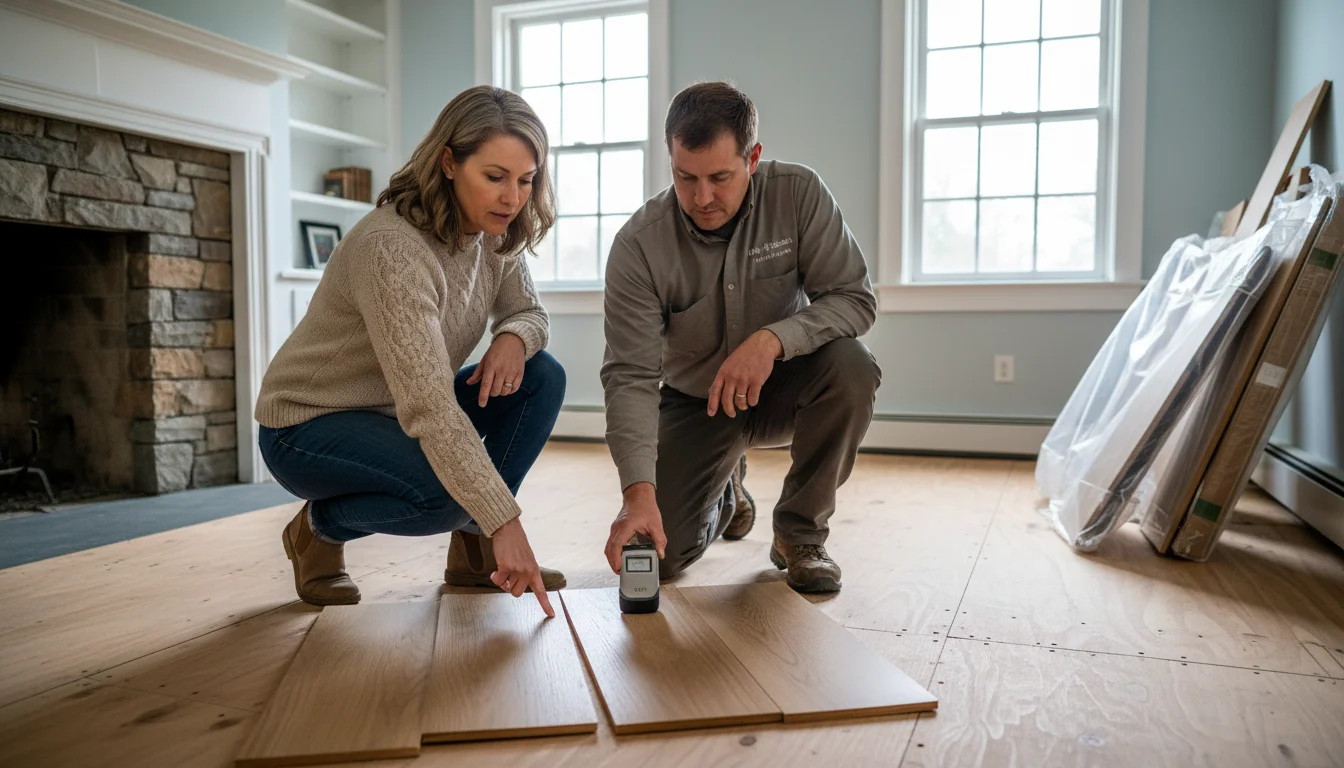
- Your flooring installation should be completed before cabinets go in — and your overall home remodeling company should coordinate this sequence to prevent rework.
Frequently Asked Questions
How long does kitchen cabinet installation take?
A standard kitchen cabinet installation takes 3 to 5 days. This doesn't include design, fabrication, or lead time — the full project typically runs 8-14 weeks from first measurement to completion of the install.
Do cabinets go in before or after flooring?
In most renovation sequences, flooring is installed before cabinets. This ensures the floor runs continuously under the cabinets, simplifying future appliance changes and preventing height mismatches.
Can you install cabinets on plaster walls?
Yes, but plaster walls require additional preparation. We locate studs behind the plaster, check for wall flatness, and use longer screws to penetrate the plaster and lath and reach the structural framing.
Why do cabinet installers use shims?
Shims compensate for uneven floors and walls, which are standard conditions in most Massachusetts homes. Proper shimming ensures cabinets are level and plumb, which keeps doors aligned and drawers operating smoothly.
What are dovetail drawers, and why do they matter?
Dovetail joints interlock two pieces of wood using a series of wedge-shaped pins and tails. Drawers built with dovetail construction are significantly stronger than those assembled with staples or butt joints — they resist pulling forces and last decades.
Should upper cabinets be screwed into studs?
Always. Upper cabinets loaded with dishes can weigh over 200 pounds. Quality certification programs test wall cabinets to 600-pound loads, but that assumes proper mounting through structural framing — not drywall anchors.
What is a cabinet punch list?
A punch list is the final walkthrough where the installer and homeowner check every cabinet, door, drawer, and trim piece for proper alignment, smooth operation, and visual quality. Any issues get corrected on the spot.
Can I install cabinets myself to save money?
You can, but the learning curve is steep. Professional cabinet installation requires precise leveling, stud-mounting skills, scribing, and hardware adjustment expertise. DIY mistakes — especially with upper cabinet mounting — can be dangerous and expensive to fix.
What happens if my walls aren't straight?
We expect it. Older homes rarely have perfectly plumb walls. We scribe cabinet edges to match wall contours, use filler strips at corners, and shim cabinets to ensure they are level and plumb despite imperfect conditions.
How do I know if my cabinet installation was done correctly?
Open every door — it should close flush with even gaps on all sides. Pull every drawer — it should glide smoothly and close softly without resistance. Check the countertop with a level — it should be flat. If any of these fail, the installation has issues.
Conclusion
Professional cabinet installation in Massachusetts isn't just about hanging boxes on walls. It's a sequenced process that demands precision at every phase — from finding the floor's high point to adjusting the last hinge. In older North Shore homes with plaster walls and settling foundations, that precision matters even more.
CabStone handles the full installation process in-house. The team that designs your cabinets is the team that builds and installs them. One set of hands from measurement to punch list.