Custom Bathroom Vanities in Middleton, MA: Design & Installation Guide
A custom bathroom vanity is a purpose-built cabinet designed to fit your exact bathroom dimensions, storage needs, and style preferences. Unlike stock vanities pulled off a showroom floor, custom builds let you control materials, door styles, countertop integration, and hardware down to the last hinge. Here's how we approach vanity design and installation at CabStone.
If you've ever tried to find a store-bought vanity that actually fits your bathroom, you know the frustration. The measurements are always slightly off. The door style doesn't match the rest of your home. The drawers are flimsy. Or the whole thing is six inches too wide for the space between the toilet and the wall. Sound familiar?
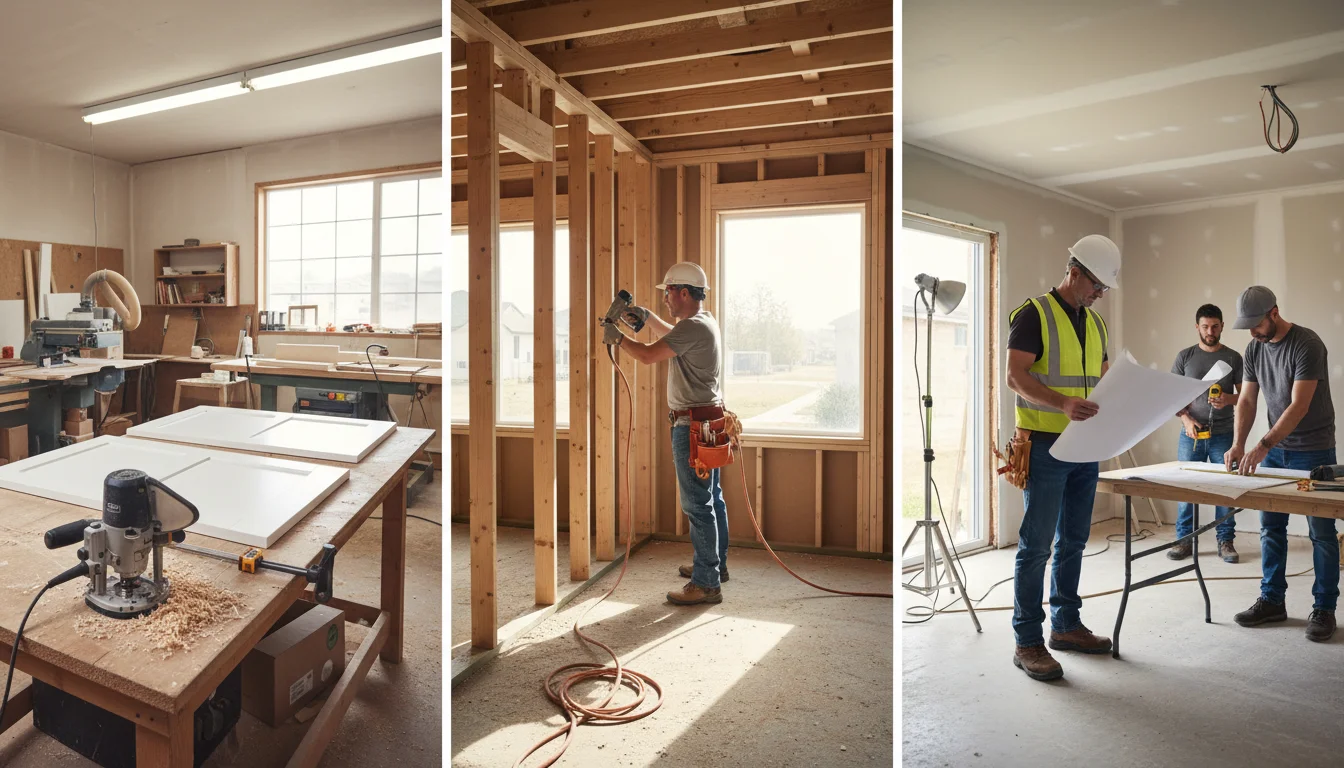
That's why most of our bathroom cabinet projects on the Boston North Shore end up going custom. At CabStone in Middleton, MA, we design and build custom bathroom vanities that fit your space exactly, use materials that stand up to daily moisture exposure, and look like they belong in the room rather than feel like an afterthought. Whether you're renovating a master bath, updating a guest bathroom, or squeezing storage into a tight powder room, this guide covers everything you need to consider before the project starts.
What Makes a Custom Vanity Different from a Stock or Semi-Custom Vanity?
Stock vanities come in fixed sizes and limited finishes. Semi-custom vanities offer some modifications like adjusted widths or upgraded hardware. A fully custom vanity is built from scratch to your exact specifications, with no dimensional constraints, unlimited material and finish options, and construction tailored to your bathroom's unique conditions.
The word "custom" gets thrown around loosely in the cabinet industry, so let's be clear about what it actually means when we use it.
Stock Vanities
Stock vanities are mass-produced in standard sizes - typically 24, 30, 36, 48, and 60 inches wide. You pick from a catalog, and what you see is what you get. The construction is usually particleboard or thin plywood with a laminate or thermofoil finish. They're the most affordable option, but the trade-offs are real: fixed dimensions that rarely fit oddly shaped bathrooms, limited finish choices, and construction quality that doesn't always survive the humidity of a bathroom environment.
Semi-Custom Vanities
Semi-custom options start from a base design but allow modifications - adjusted widths in three-inch increments, upgraded drawer slides, additional finish options, and sometimes different door styles. This is a middle ground that works for some homeowners, but you're still working within a manufacturer's catalog. If your bathroom has an unusual layout, angled walls, or plumbing that doesn't align with standard configurations, semi-custom may not get you there.
Fully Custom Vanities
This is what we build. A fully custom vanity starts with measurements taken in your bathroom and gets designed around your space, your plumbing locations, and how you actually use the room. We choose the box material, the door style, the finish, the hardware, and every interior detail based on the project. Need a vanity that's 43 inches wide to fit between a door casing and a wall? No problem. Want a bathroom cabinet with one side deeper for towel storage and the other side shallow to clear the toilet? That's exactly what custom is for.
| Feature | Stock | Semi-Custom | Fully Custom |
| Width options | Fixed (24", 30", 36", 48", 60") | Adjustable in 3" increments | Any dimension |
| Depth options | Fixed (usually 21") | Limited adjustment | Any depth |
| Door styles | 3-6 options | 10-20 options | Unlimited |
| Box material | Particleboard or thin plywood | Plywood standard | Plywood or hardwood (your choice) |
| Interior configuration | Fixed shelf layout | Some drawer/shelf options | Fully customizable |
| Lead time | In stock or 1-2 weeks | 4-8 weeks | 4-8 weeks |
| Moisture resistance | Basic | Moderate | Built for bathroom humidity |
What Materials Work Best for Bathroom Vanities?
Bathroom vanities face constant humidity, temperature swings, and direct water contact, which means material selection matters more here than in any other room. Moisture-resistant plywood for the box, MDF for painted door fronts, and solid hardwood for stained face frames give you the best combination of durability, appearance, and long-term performance in a wet environment.
This is where our experience as a cabinet maker really shows. We've seen what happens to bathroom vanities built with the wrong materials: swelling, delamination, mold behind the cabinet box, and warped doors that won't close. In a kitchen, you can get away with some material compromises. In a bathroom, you can't.
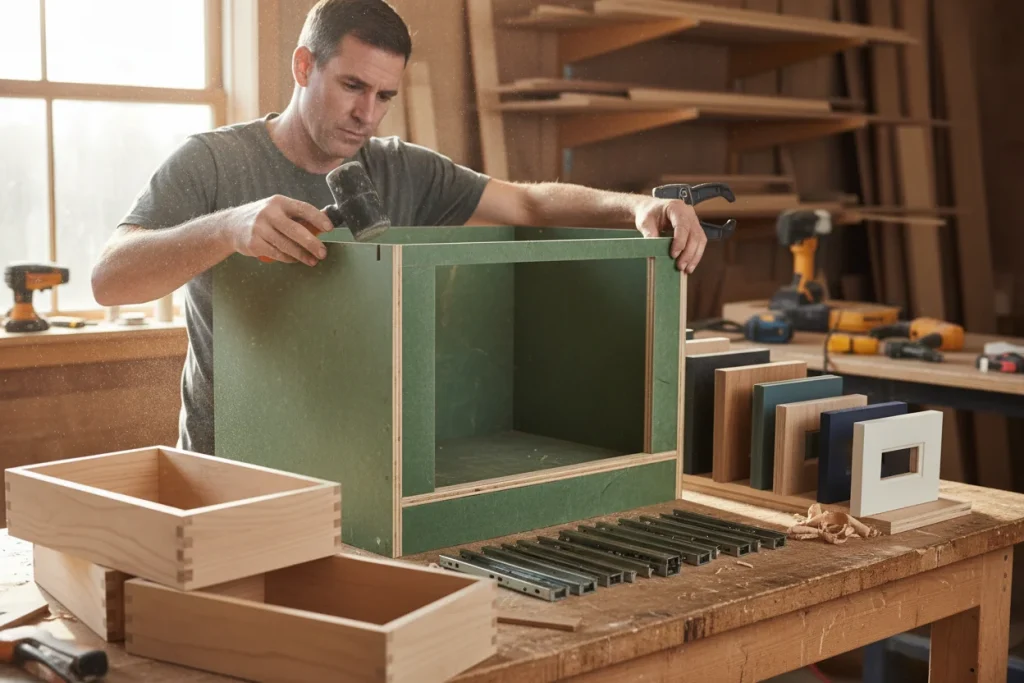
The Cabinet Box
The box is the structural backbone of your vanity. We build bathroom vanity boxes from moisture-resistant plywood, typically birch or maple, using a moisture-resistant adhesive. Particleboard is cheaper, but it swells in humidity and falls apart when wet. In a room where someone showers every day, that's not an acceptable material for a piece of furniture that's supposed to last a decade or more.
For wall-mounted floating vanities, the box construction is even more critical because the entire vanity hangs from a wall cleat with no legs touching the floor. The plywood needs to be thick enough to handle the load of a stone countertop and a full sink of water without sagging or pulling away from the wall.
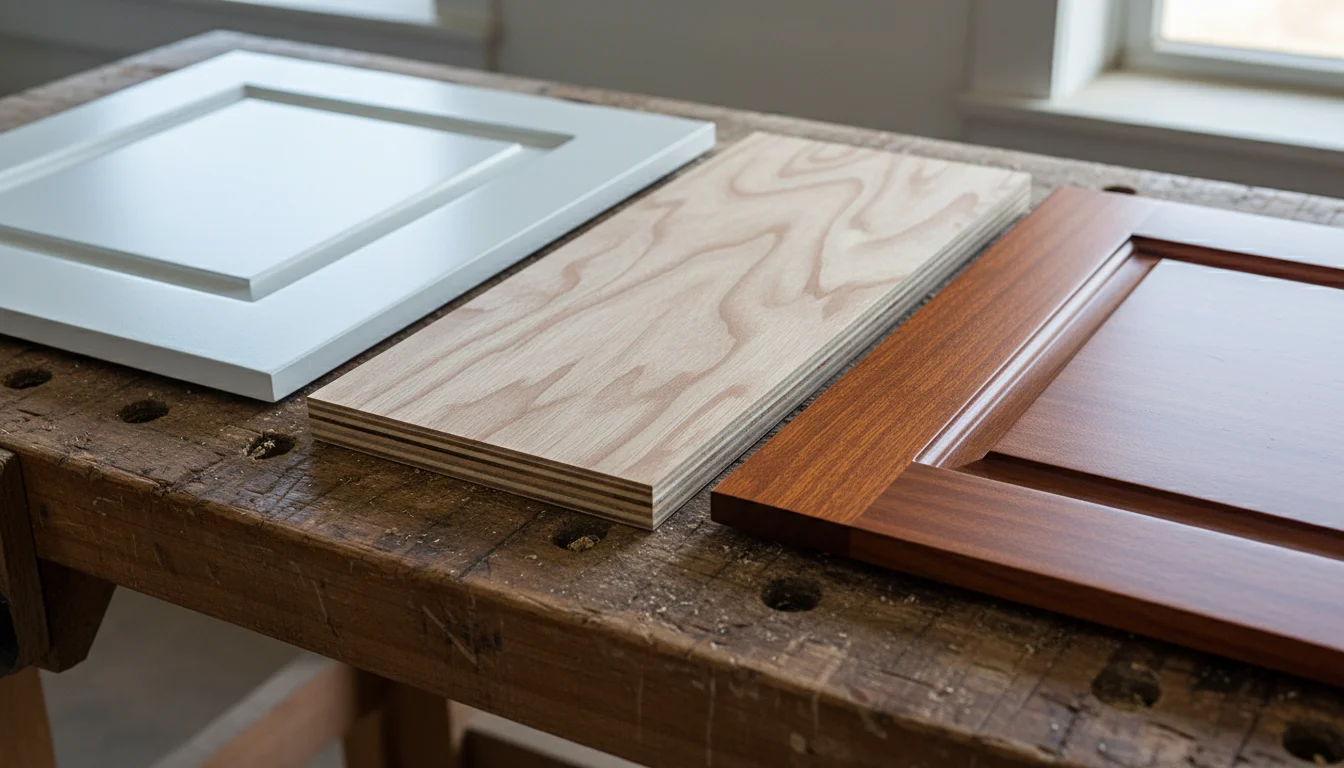
Door Fronts and Drawer Fronts
For painted vanities, MDF is our standard door material. It machines beautifully, takes paint with a smooth factory-quality finish, and doesn't have the wood grain telegraphing that you sometimes see with painted hardwood doors. MDF is also dimensionally stable - it doesn't expand and contract with humidity changes the way solid wood does, which means your painted finish stays crack-free.
For stained vanities, we use solid hardwood - maple, cherry, or white oak, depending on the look and the home's existing woodwork. North Shore homes built in the colonial and craftsman styles often have stained wood trim throughout, and a stained hardwood vanity ties the bathroom into that architectural language.
Countertops
Quartz is the dominant choice for custom bathroom vanities right now, and for good reason. It's non-porous, so it doesn't absorb water, bacteria, or stains. It doesn't need sealing like granite does, and it's available in a wide range of colors and patterns. Granite is still a solid option, especially if you want a natural stone look, but it requires annual sealing in a bathroom environment. Marble looks stunning but stains easily and etches from acidic products like certain face washes and toothpaste - we recommend it only in low-use powder rooms.
Drawer Slides and Hardware
Soft-close drawer slides are standard on everything we build. In a bathroom, where you're opening and closing drawers with wet hands at 6 AM, the last thing you want is a drawer that slams shut and wakes up the rest of the house. We use full-extension slides so the entire drawer pulls out for easy access, especially useful for deep drawers that hold hair tools, cleaning supplies, or stacked towels.
| Material | Best Application | Moisture Resistance | Finish Options | Durability in the Bathroom |
| Moisture-resistant plywood | Cabinet box | Excellent | N/A (concealed) | 15-25+ years |
| MDF | Painted doors and drawer fronts | Good (when sealed/painted) | Unlimited paint colors | 15-20 years |
| Solid hardwood (maple, cherry, oak) | Stained doors and face frames | Moderate (seal required) | Natural stain finishes | 20+ years |
| Quartz | Countertop | Excellent (non-porous) | Wide color/pattern range | 20+ years |
| Granite | Countertop | Good (annual sealing) | Natural stone variations | 15-20+ years |
How Do You Design a Bathroom Vanity That Actually Works?
Good vanity design balances storage capacity, counter space, sink configuration, and visual proportion with the room. The NKBA planning guidelines recommend minimum clearances of 21 inches in front of the vanity and at least 4 inches between the sink centerline and any side wall, but the real design work happens when you match those standards to your specific bathroom layout and daily routine.
Design is where custom vanities earn their keep. Anyone can build a box and hang some doors on it. Designing a vanity that makes your bathroom work better every morning? That takes experience and a conversation about how you actually live.
Single vs. Double Vanity
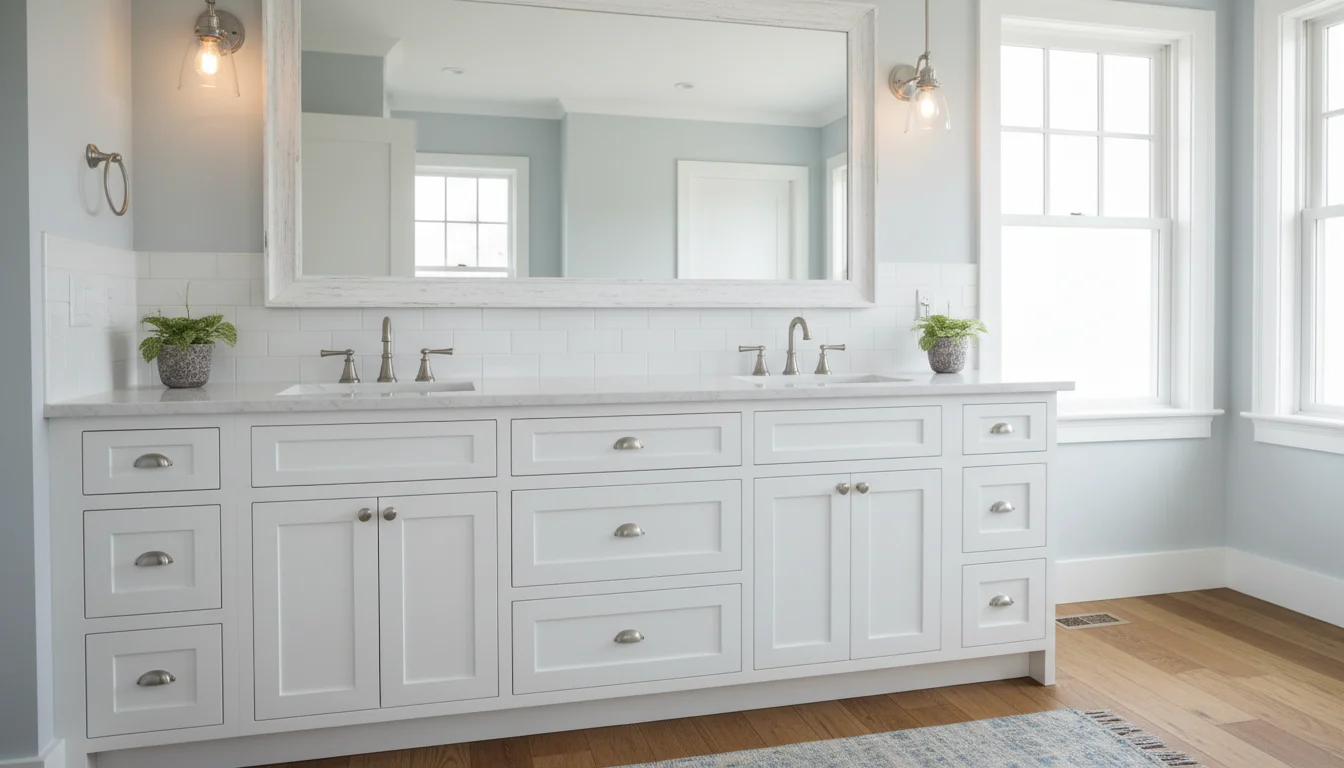
The decision between one sink or two usually comes down to bathroom width and who uses the space. A double vanity needs at least 60 inches of width to work comfortably, and we prefer 72 inches when the room allows it. If your bathroom is under 60 inches wide, a well-designed single vanity with generous counter space on both sides of the sink will serve you better than a cramped double.
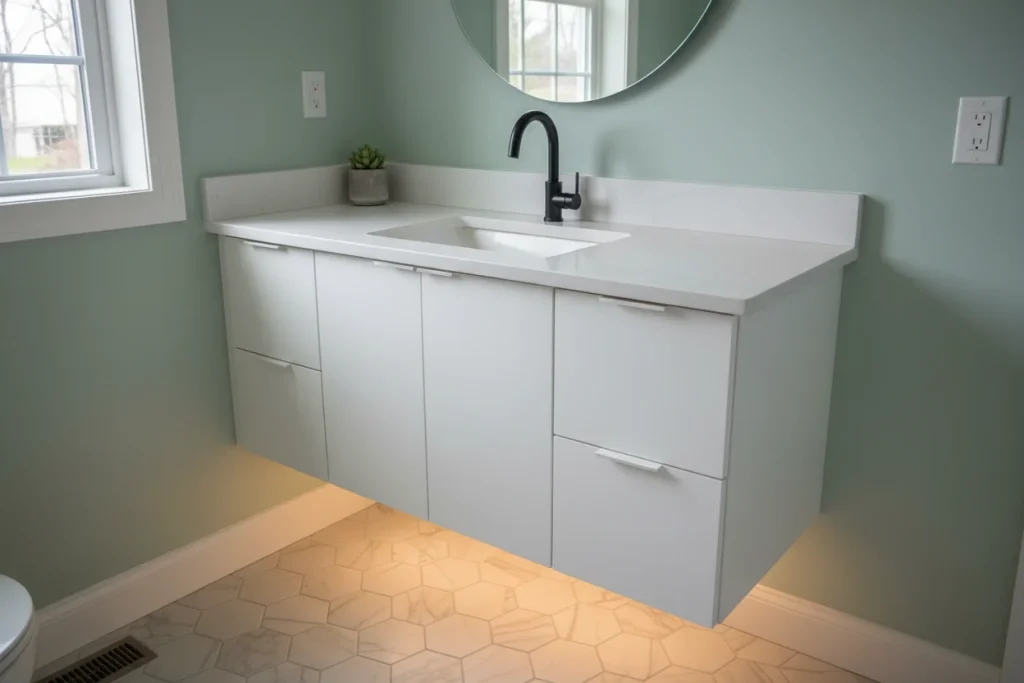
Floating vs. Freestanding
Floating vanities mount to the wall with no legs touching the floor. They make small bathrooms feel larger by exposing floor space, they're easier to clean under, and they give the room a contemporary look. The trade-off is that you lose some storage volume compared to a freestanding cabinet that goes all the way to the floor. Freestanding vanities offer maximum storage and work well in traditional and transitional designs. For homes on the North Shore with classic New England architectural styles, freestanding vanities with furniture-style legs or a full base are the more common choice.
Vanity Height
Standard vanity height is 32 inches from the floor to the top of the countertop. But "comfort height" vanities at 36 inches - the same height as kitchen countertops - have become increasingly popular because they're more ergonomic for most adults. We default to 36 inches on new custom builds unless the homeowner specifically requests the lower height. For kids' bathrooms or shared spaces used by children, we sometimes split the difference at 34 inches.
Storage Configuration
Here's where we spend most of our time in the design phase. Not every bathroom needs the same interior layout:
- Master bath: Deep drawers for hair tools and products, a shallow top drawer with dividers for daily items, and at least one cabinet section with an adjustable shelf for taller bottles and cleaning supplies.
- Guest bath: Simpler configuration with a single drawer and an open cabinet below. Guests don't need six drawers - they need a clean place to put their toiletry bag.
- Powder room: Minimal storage since the room sees light use. A small vanity with a single door or two drawers is usually plenty. The design emphasis here shifts to visual impact since the vanity is often the focal point of the room.
- Kids' bath: Step-stool-friendly height, durable painted MDF doors that handle fingerprints and splashes, and pull-out organizer trays that make it easy for kids to find what they need.
Sink and Faucet Integration
Your sink type affects the design of the vanity. Undermount sinks sit below the countertop for a clean, easy-to-wipe surface - these are our most popular recommendation. Vessel sinks sit on top of the counter and make a design statement, but they require a taller faucet and reduce usable counter space. Drop-in sinks are the most budget-friendly option, but create a lip that catches water and debris.
The faucet configuration - single hole, widespread, or wall-mounted - needs to be decided during design because it determines the countertop cutout and any wall blocking required behind the vanity.
What Does the Installation Process Look Like?
Custom vanity installation typically takes one to two days and involves removing the old vanity, verifying plumbing locations, installing wall blocking for mounting, setting and leveling the cabinet, connecting plumbing, and installing the countertop and sink. Proper installation prevents the cracked caulk lines, leaking connections, and unlevel surfaces that plague DIY and rush jobs.
This is the phase where craftsmanship and trade knowledge converge. A beautiful vanity that's installed poorly will cause problems within months - unlevel countertops that pool water, drain connections that leak behind the wall, and cabinets that pull away from walls because the blocking wasn't adequate.
Pre-Installation Prep
Before we bring the new vanity in, the old one comes out. We disconnect the plumbing, remove the countertop and cabinet, and inspect the wall and floor behind it. In older North Shore homes, we frequently find water damage, mold, or inadequate plumbing that needs to be addressed before the new vanity goes in. This is also when we install or verify wall blocking - solid wood backing inside the wall that gives the vanity mounting screws something structural to bite into. For floating vanities, this blocking is absolutely critical because the entire vanity and countertop load transfers through the wall cleat into those blocks.
Setting and Leveling
The vanity gets positioned, checked for level in both directions, and shimmed as needed. Old houses are rarely perfectly level or plumb, so this step takes patience. We scribe the back of the vanity to the wall to eliminate any gaps, ensuring a tight fit that looks intentional rather than forced.
Plumbing Connections
Our crew coordinates with the plumber to connect supply lines and the drain. On custom vanities, we often need to notch or drill the back panel and shelf for pipes, which is why we take precise plumbing measurements during the design phase. Everything gets tested for leaks before the countertop goes on, because once that quartz slab is set, you don't want to have to pull it off to fix a drip.
Countertop and Sink
Countertops are templated after the vanity is installed, not before. This ensures a perfect fit against the wall and any scribing we've done. The fabricator cuts the sink opening according to the undermount or vessel sink spec, and the counter is set with silicone adhesive. The sink mounts from below, the faucet gets connected, and we do a final test of all water connections.
Final Details
We install any remaining hardware - pulls, knobs, towel bars mounted to the side of the vanity - and do a final check of all doors, drawers, and soft-close mechanisms. We caulk the joint between the countertop and the wall with a color-matched silicone (not latex - silicone stays flexible and resists mold in wet environments). The last step is a walkthrough with you to confirm everything looks and functions the way we discussed.
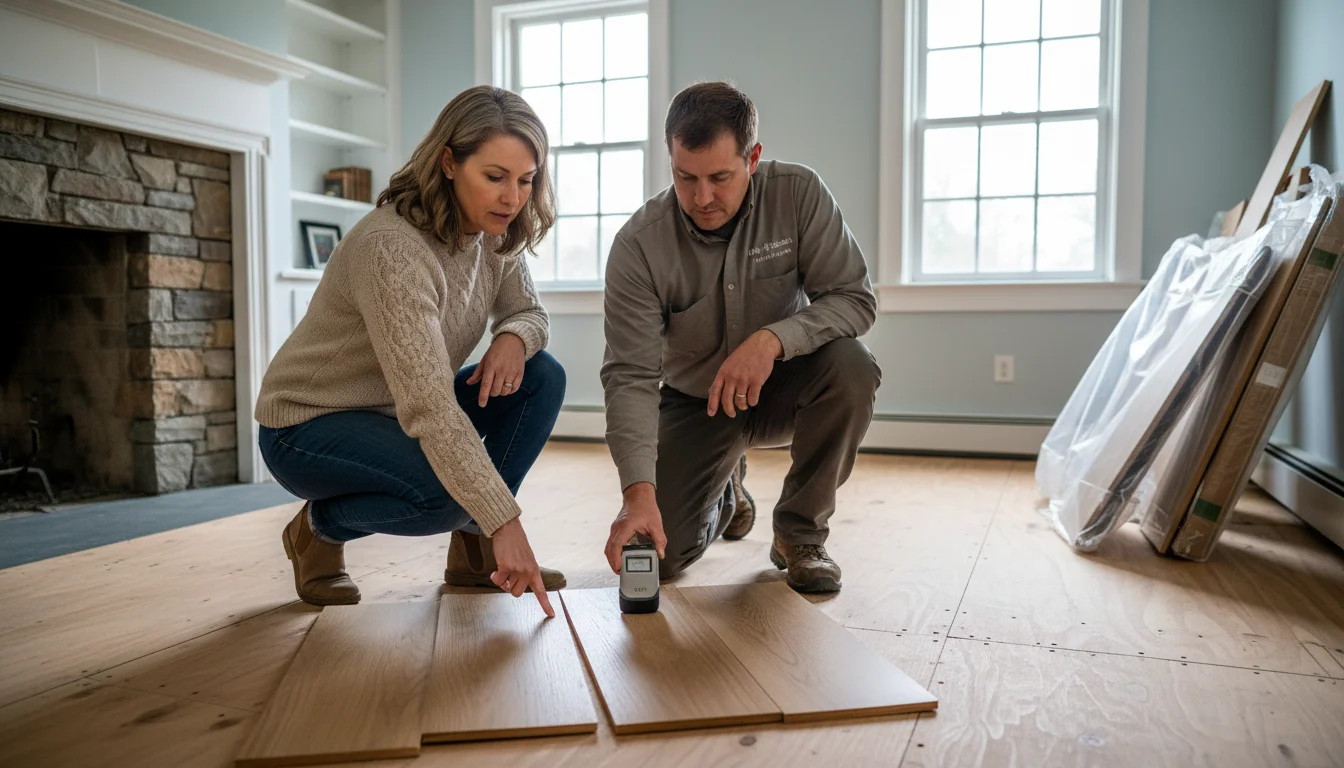
If you're also updating the floors during a bathroom remodel, we coordinate the flooring installation with the vanity timeline so the new floor goes down before the vanity gets set. That way, the flooring runs wall-to-wall with no exposed edges or awkward cuts around the cabinet base. It's one of the advantages of working with a cabinetry and flooring contractor who handles both trades.
| Installation Phase | What Happens | Duration | Key Detail |
| Demo and prep | Old vanity removed, wall inspected, blocking installed | 2-4 hours | Check for hidden water damage or mold |
| Cabinet installation | Vanity positioned, leveled, shimmed, secured to wall | 2-3 hours | Scribe to wall for a tight fit on uneven surfaces |
| Plumbing rough-in | Supply and drain connections verified or modified | 1-3 hours | Test for leaks before the countertop goes on |
| Countertop and sink | Counter templated, fabricated, installed; sink mounted | 1-2 days (includes template/fab) | Silicone adhesive for undermount; test all water |
| Hardware and final | Pulls, knobs, caulking, soft-close check, walkthrough | 1-2 hours | Color-matched silicone caulk, not latex |
Key Takeaways
- Custom vanities are built to your exact bathroom dimensions and address the fit issues that stock and semi-custom options can't.
- Moisture-resistant plywood for the box and MDF for painted doors are the best material choices for bathroom humidity. Avoid particleboard entirely.
- Floating vanities make small bathrooms feel larger, while freestanding designs maximize storage and suit traditional New England home styles.
- Comfort height (36 inches) has become the standard for adult bathrooms. Only go lower for kids' spaces or specific accessibility needs.
- Undermount sinks are the most practical choice for daily use, offering easy cleanup and maximum counter space around the basin.
- A professional vanity installation involves wall blocking, plumbing coordination, and leveling that prevents long-term issues like cracked countertops and leaking connections.
Frequently Asked Questions
How long does it take to get a custom bathroom vanity built and installed?
From the initial design meeting through completed installation, most custom vanity projects take six to ten weeks. The build itself is typically four to six weeks, with installation completed in one to two days.
Can you build a custom vanity for a very small bathroom?
Yes. Custom is actually the best option for tight spaces because we build to exact dimensions. We've designed vanities as narrow as 18 inches wide for powder rooms and half baths where every inch counts.
What's the standard height for a bathroom vanity?
Traditional vanity height is 32 inches, but comfort height at 36 inches has become the new standard for adult-use bathrooms. We default to 36 inches unless the homeowner prefers a different height.
Is MDF a good material for bathroom cabinets?
MDF is excellent for painted bathroom doors and drawer fronts. It machines smoothly, takes paint well, and resists the expansion and contraction that causes cracks in painted solid wood. The cabinet box itself should be moisture-resistant plywood for maximum durability.
Should I choose a floating vanity or a freestanding one?
Floating vanities work well in small bathrooms where visible floor space makes the room feel larger. Freestanding vanities offer more storage and suit traditional or transitional design styles common in New England homes.
What countertop material is best for a bathroom vanity?
Quartz is the most practical choice for most bathrooms because it's non-porous, stain-resistant, and maintenance-free. Granite works well with annual sealing. Marble is beautiful but stains and etches easily, so we recommend it only for low-use powder rooms.
Do I need a plumber for a vanity installation?
Yes. Any vanity installation involves plumbing connections for supply lines and drainage. A licensed plumber should handle these connections to ensure code compliance and prevent leaks behind the wall.
Can you match the vanity to my existing kitchen cabinets?
In many cases, yes. If we built your kitchen cabinets, matching is straightforward because we have your original specs on file. If another company built them, we can often match the door style, finish, and hardware closely by working from samples.
What's the difference between undermount and vessel sinks?
Undermount sinks sit below the countertop surface for easy cleanup and a clean look. Vessel sinks sit on top of the counter as a design feature but require taller faucets and reduce usable counter area.
How do you handle vanity installation in older homes with uneven walls?
We scribe the vanity to the wall during installation, which means we trace the wall's contour onto the back of the cabinet and trim it for a tight, gapless fit. Shimming and leveling handle any floor irregularities.
Conclusion
A custom bathroom vanity is one of the best investments you can make in a bathroom renovation. It solves the fit, storage, and material problems that stock options can't, and it gives you a piece of furniture that's built specifically for your home and how you use the space. From material selection through the final walkthrough, every detail matters.
If you're planning a bathroom remodel on the North Shore or anywhere around Boston, CabStone designs and installs custom bathroom vanities from our Middleton shop. We handle the full scope - design, build, and install - so nothing gets lost between trades. Call us at 617-699-3945 or stop by 325A North Main Street, Middleton, MA 01949.