What Really Happens When We Install Your Floors (Day-by-Day Breakdown)
A typical flooring installation process takes three to five days from demolition through final walkthrough, depending on room size and material type. Most homeowners are surprised by how much prep work goes into a project before a single plank goes down. Here's what actually happens behind the scenes when a professional crew shows up to transform your floors.
If you've never been through a professional floor installation, the whole thing can feel like a black box. You hand over the keys, hear some noise for a few days, and hope it all works out. We get it.
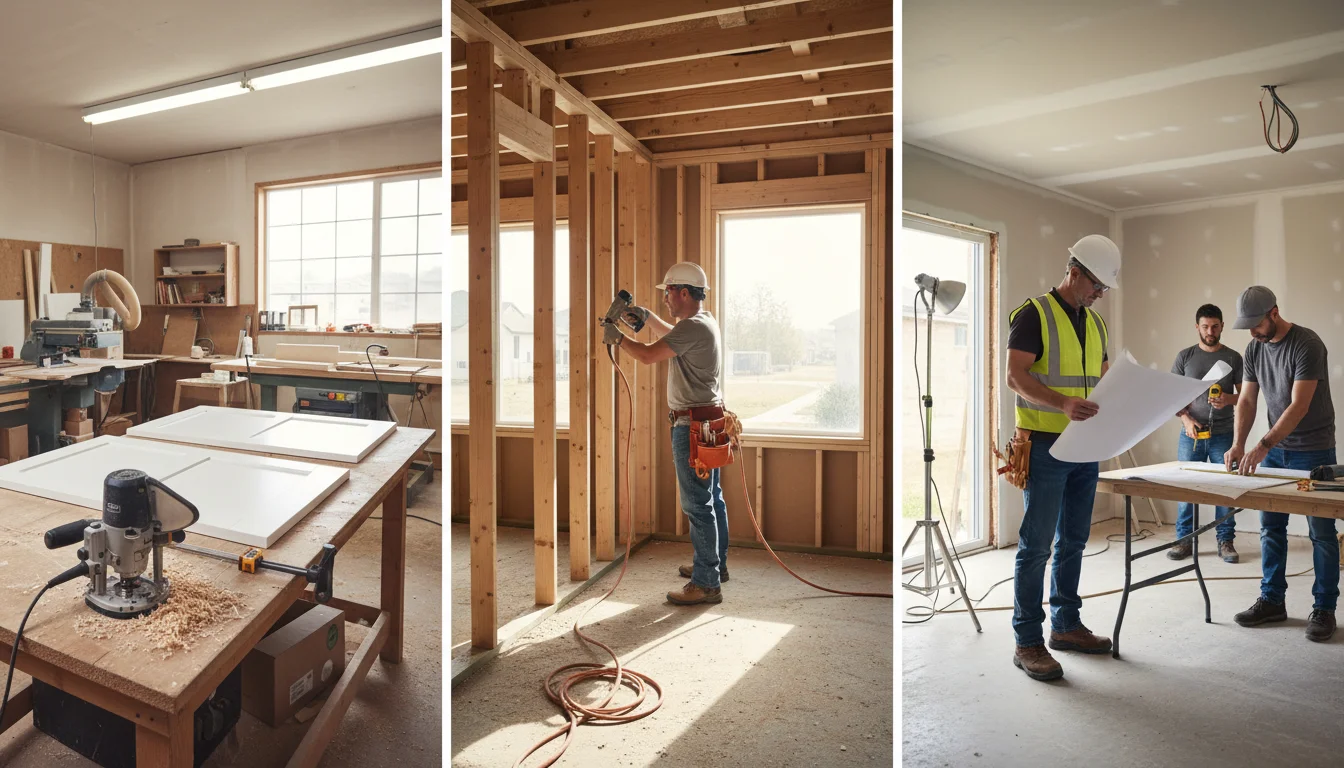
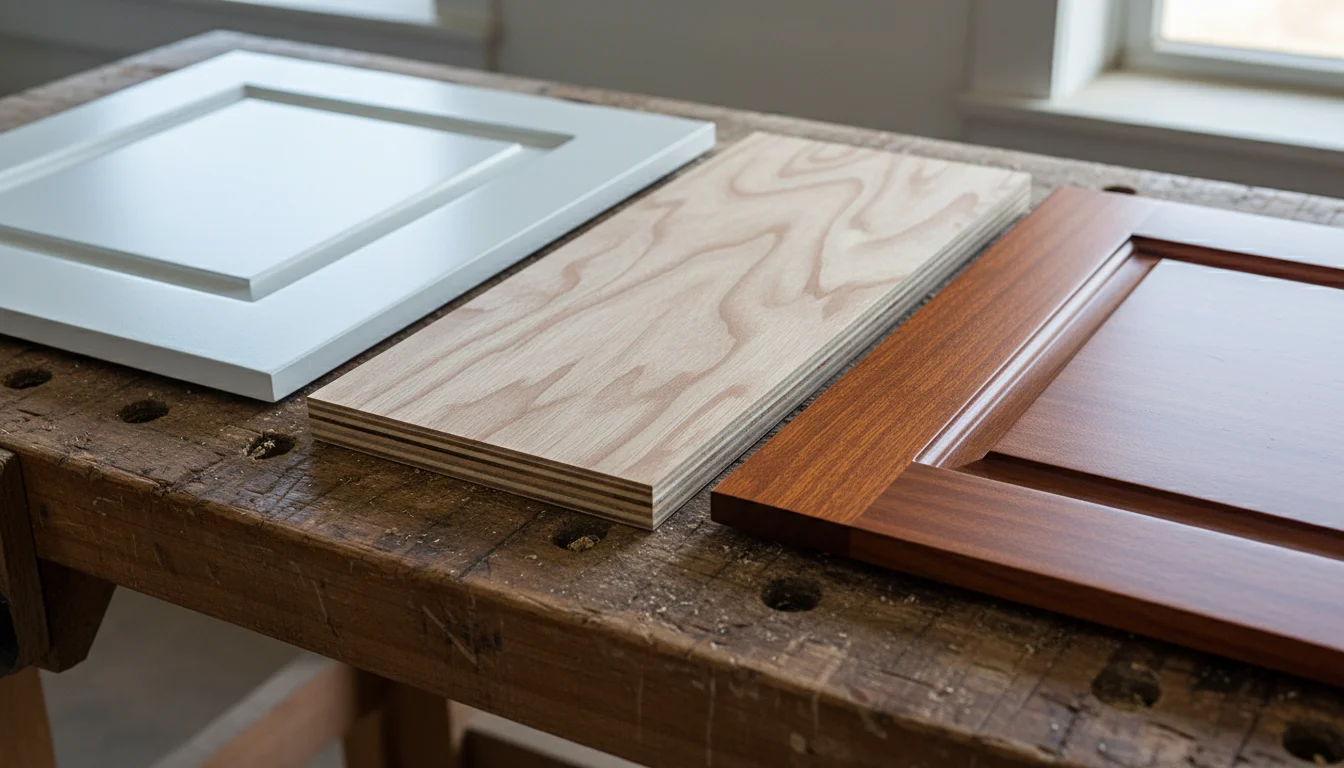
At CabStone, we've installed Solid Hardwood, Engineered Hardwood, and SPC Luxury Vinyl across hundreds of homes on the Boston North Shore. This guide breaks down every phase of our flooring installation process so you know exactly what to expect, what we need from you, and why each step matters.
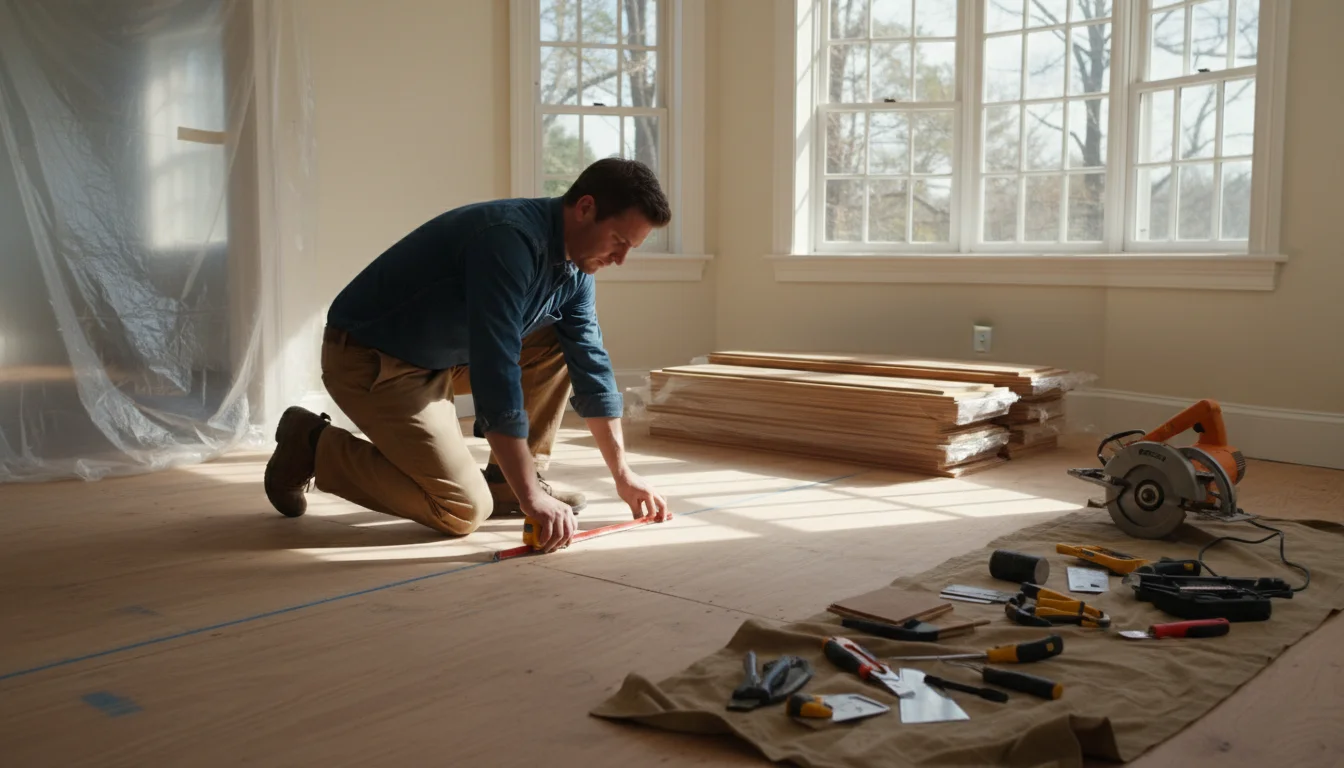
How Do We Prepare Your Home Before Installation Day?
Preparation is the most overlooked phase of any flooring project, but it determines whether your new floors last five years or fifty. A proper prep phase includes furniture removal, demolition of old flooring, and a thorough subfloor inspection to catch problems before they become costly.
The real work starts well before the first plank touches the floor. Here's the thing - most flooring installation failures we see across Massachusetts trace back to shortcuts during prep. We don't skip this part, and neither should any licensed flooring contractor you're considering.
Material Delivery and Acclimation
Your flooring materials need to arrive at your home before installation begins. Solid Hardwood and Engineered Hardwood both need time to adjust to your home's temperature and humidity. We typically deliver materials three to five days early and open the boxes in the room where they'll be installed. SPC Luxury Vinyl is more dimensionally stable and doesn't require the same acclimation window, but we still like to get it on-site at least 24 hours in advance.
This acclimation period matters more than most people realize, especially in New England. Our winters lower indoor humidity, and our summers raise it back up. Skipping acclimation is how you end up with gaps between boards come February or buckling in August.
Furniture Moving and Room Clearing
We need the rooms completely cleared before our crew arrives. Some homeowners handle this themselves, and some hire movers or ask us to coordinate it. Either way, everything needs to be out - furniture, area rugs, floor lamps, anything sitting on the floor. Wall-hung items near doorways should come down too, since we'll be working around thresholds.
Old Flooring Removal
Demolition is loud and dusty, and there's no way around that. Carpet and pad come up fastest. Sheet vinyl and tile take longer, especially if the adhesive is stubborn. We haul everything away in our trucks - you won't be left with a pile of old carpet in the driveway.
| Preparation Task | Typical Duration | Your Responsibility |
| Material delivery and acclimation | 3-5 days before install (hardwood); 24 hours (SPC) | Keep boxes in install rooms, don't stack against walls |
| Furniture removal | Day before or morning of Day 1 | Move items out of work areas completely |
| Old flooring demolition | Half day to full day | Keep pets and kids away from work zone |
| Baseboard and trim removal | 2-4 hours | Let crew know if you want trim saved or replaced |
| HVAC register covers | 15-30 minutes | Remind crew of any in-floor vents |
What Happens During Subfloor Prep and Why Does It Matter?
Your subfloor is the foundation beneath the finished floor, and it must be structurally sound, level, clean, and dry before any new material goes on top. Skipping subfloor prep is the single most common reason floors squeak, gap, or fail within the first few years.
Once the old flooring is out, we get our first real look at the subfloor. This is where experience separates a reliable flooring contractor from someone just slapping boards down. We check three things: flatness, moisture, and structural integrity.
Flatness and Leveling
Industry standards call for a subfloor that's flat within 3/16 of an inch over a six-foot span for nail-down installations, and within 1/8 of an inch for glue-down or floating floors. We check this with a long straightedge across multiple areas of the room. High spots get sanded down. Low spots get filled with a patching compound or shimmed with plywood, depending on the depth.
In older North Shore homes built before the 1970s, we sometimes find single-layer plywood subfloors that are too thin to properly hold nails. That's a conversation we need to have before proceeding, because adding a layer of underlayment or replacing sections of subfloor changes the project timeline.
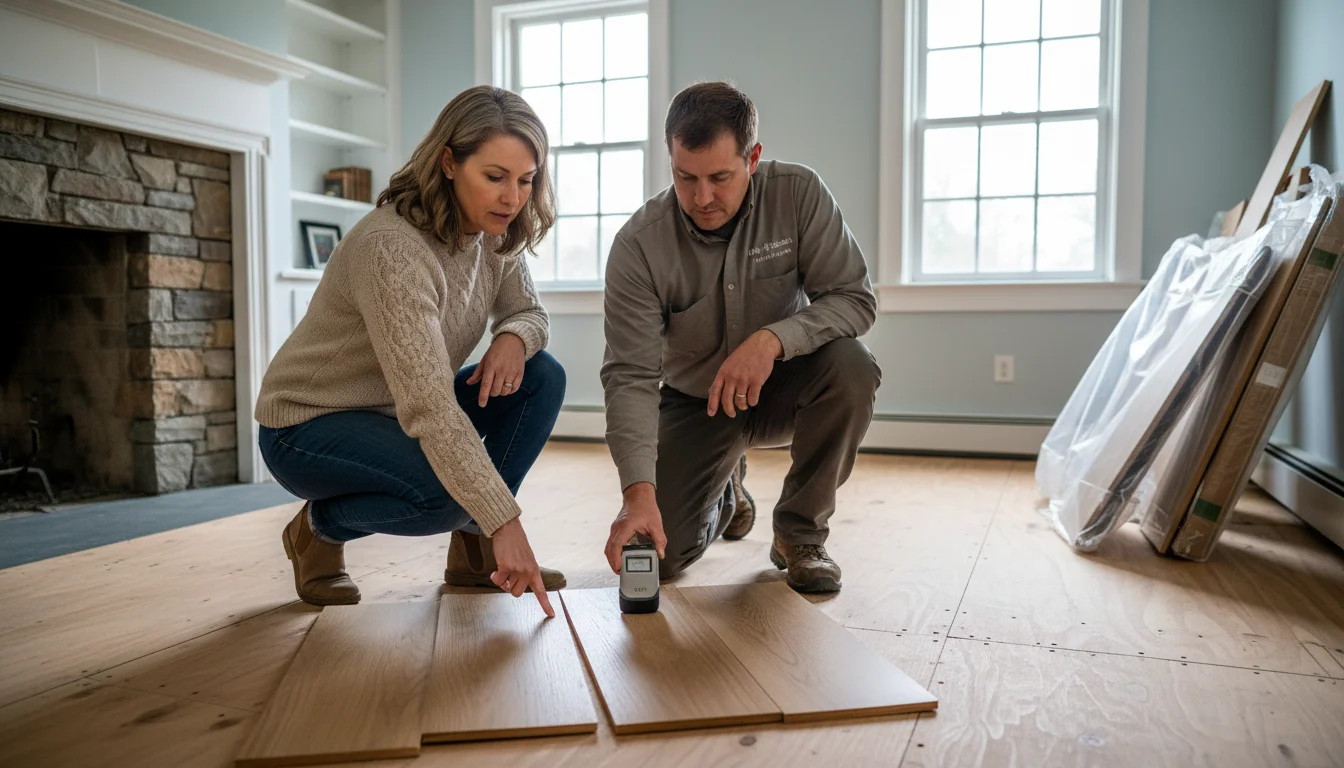
Moisture Testing
Moisture is the enemy of wood floors. We use both pin-type and pinless moisture meters to test multiple spots across the subfloor. For concrete slabs, we run calcium chloride tests or relative humidity probe tests. The acceptable moisture content varies by material - Solid Hardwood is the most sensitive, Engineered Hardwood is moderately tolerant, and SPC Luxury Vinyl handles moisture better than either.
If moisture readings are too high, we don't just install anyway and hope for the best. We identify the source, recommend a fix, and test again before proceeding. That might add a day or two, but it prevents cupping, warping, and mold down the line.
Underlayment and Vapor Barriers
Depending on your material and subfloor type, we may install underlayment - a thin layer of foam, felt, or rubber that sits between the subfloor and the finished floor. Underlayment provides cushioning, sound dampening, and moisture protection. Floating floors like SPC Luxury Vinyl and some Engineered Hardwood products require it. Nail-down Solid Hardwood typically uses a vapor retarder, such as asphalt-saturated kraft paper, instead.
| Subfloor Check | What We're Looking For | What Happens If We Find a Problem |
| Flatness | Within 3/16" over 6 ft (nail-down) or 1/8" (float/glue) | Sand high spots, fill low spots, and add underlayment if needed |
| Moisture content | Wood subfloor: 6-9% MC; Concrete: below 3 lbs per MVER | Identify the source, remediate, and retest before installing |
| Structural integrity | No soft spots, delamination, or protruding fasteners | Replace damaged sections, reset fasteners, and add blocking |
| Cleanliness | No debris, dust, or old adhesive residue | Scrape adhesive, vacuum thoroughly, and damp mop if needed |
| Squeaks | Test by walking the entire subfloor systematically | Screw down loose areas to joists from above |
What Does a Typical Installation Day Actually Look Like?
On installation day, our crew arrives early, sets up dust containment barriers, and begins laying flooring from the longest wall in the room. Most single-room installations are completed in one day, while whole-home projects typically run two to three days of active floor laying.
This is the part everyone pictures when they think about floor installation. The planks finally go down. But even now, there's a method to everything.
Dust Containment and Air Quality
Before cutting a single board, we set up containment. That means plastic sheeting over doorways, drop cloths on any finished surfaces in adjacent rooms, and a plan for sawdust management. The EPA recommends using barriers and exhaust ventilation during renovation work to keep dust from spreading through your home's HVAC system. We tape off supply and return registers in the work area and run our cuts outside or near an open window with a fan pulling air out whenever possible.
This is especially important in Massachusetts homes with forced-air systems. Construction dust in your ductwork means you're breathing it long after we've packed up.
Layout and First Rows
We start by snapping chalk lines to establish straight reference lines. The first two or three rows are the most critical because everything else builds off of them. If the first row is crooked, every row after it compounds the error. We dry-fit several rows before committing, checking the layout against doorways, cabinets, and focal points in the room.
For Solid Hardwood and Engineered Hardwood, we rack the boards - meaning we pull from multiple boxes simultaneously and stagger the end joints so there's no repeating pattern. This looks more natural and distributes any slight color variation across the whole floor.
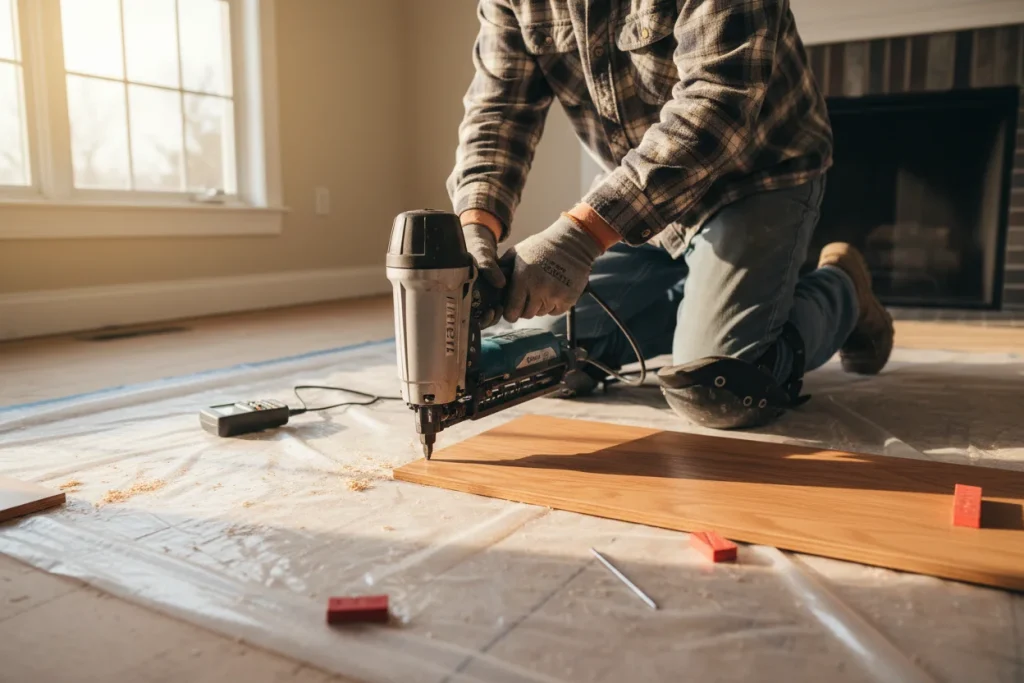
The Installation Itself
How the floor goes down depends on the material:
- Solid Hardwood: Nail-down using a pneumatic flooring nailer. Each plank gets blind-nailed through the tongue at a consistent angle. This is physical, repetitive work that requires a trained hand. Misfire a nail, and you crack a tongue, which means pulling that board and starting over.
- Engineered Hardwood: Can be nailed, glued, or floated, depending on the product and subfloor. Floating installations click together and sit on top of the underlayment without fasteners. Glue-down provides the most solid feel underfoot.
- SPC Luxury Vinyl: Almost always installed with a floating click-lock system. The rigid core locks tightly, and the floor can drop quickly once the subfloor is prepped. We maintain expansion gaps around the perimeter because SPC still responds to temperature changes, even though it handles moisture well.
We keep the workspace clean as we go. At the end of each installation day, we sweep up, organize materials for the next morning, and give you access to the rest of your home.
What Happens After the Floor Is Down? Trim, Transitions, and Final Walkthrough
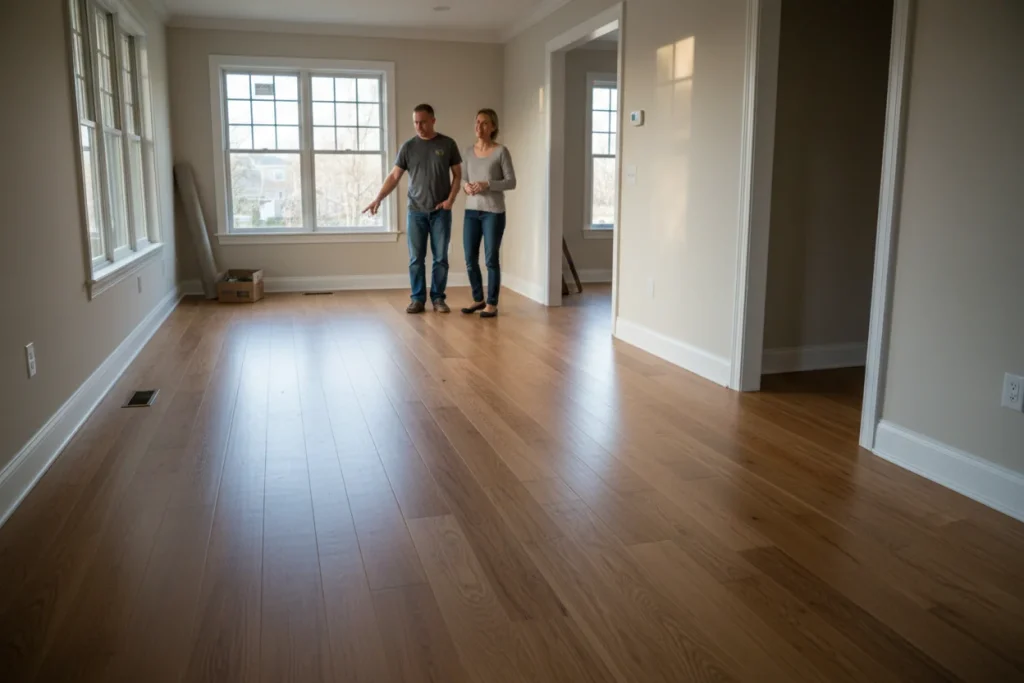
After the last plank is installed, there's still a full day of finish work - reinstalling or replacing baseboards, fitting transition strips between rooms, and conducting a detailed final inspection to catch any issues before the project is officially complete.
The floor itself might look done, but the project isn't finished until the details are locked in.
Trim and Baseboard Reinstallation
Baseboards are reinstalled after the floor is in, covering the expansion gap we left around the perimeter. If you chose new baseboards, we install those with a finish nailer and caulk the top edge against the wall. Quarter-round or shoe molding along the bottom provides a clean, tight look against the new floor surface.
In homes where we're also handling a kitchen cabinet installation, we coordinate the flooring and trim work so everything meets cleanly. That's one of the advantages of working with a cabinetry and flooring contractor who handles multiple trades under one roof.
Transition Strips
Where your new floor meets a different surface - tile in the bathroom, carpet in a bedroom, an existing floor in the hallway - we install transition strips. These aren't just cosmetic. They protect exposed edges, manage height differences between surfaces, and allow each floor section to expand independently.
Getting transitions right takes precise measuring and cutting. A sloppy transition is one of the most visible signs of a rushed job, and we see it constantly when homeowners call us to fix another contractor's work.
The Final Walkthrough
We walk the entire floor with you, room by room. We're checking for:
- Surface scratches or dents from installation
- Gaps at walls, doorways, or between planks
- Transitions sitting flush and secure
- Trim and baseboard alignment
- Any squeaks or soft spots
- Proper clearance under doors
If anything needs attention, we handle it on the spot. We also go over your specific floor care instructions - what cleaners to use, how to manage humidity levels through the seasons, and when to call us if something comes up.
| Day | Phase | What's Happening | Duration |
| Day 0 (Pre-Install) | Material delivery | Flooring delivered, acclimation begins | 30-60 minutes |
| Day 1 | Demolition and subfloor prep | Old floor removed, subfloor inspected and prepped | Full day |
| Day 2-3 | Floor installation | Planks laid room by room, dust containment active | 1-2 days |
| Day 4 | Trim and transitions | Baseboards, shoe molding, and transition strips installed | Half to full day |
| Day 4-5 | Final walkthrough and cleanup | Room-by-room inspection with homeowner, full cleanup | 2-3 hours |
Key Takeaways
- Acclimation is not optional for hardwood - skipping it leads to gaps and buckling, especially in New England's seasonal humidity swings.
- Subfloor prep is where most installation failures originate. Flatness, moisture, and structural soundness all get checked before a single plank goes down.
- Dust containment protects your home's air quality and HVAC system during demolition and cutting. A professional crew plans for this upfront.
- The first rows set the alignment for the entire floor. Rushing this step creates visible problems that can't be fixed without pulling everything up.
- Different materials require different installation methods. Solid Hardwood gets nailed, Engineered Hardwood offers flexibility, and SPC Luxury Vinyl clicks together as a floating floor.
- A proper final walkthrough catches transition issues, trim gaps, and surface damage before the crew leaves. Never skip this step.
Frequently Asked Questions
How long does a typical flooring installation take from start to finish?
Most single-room projects take three to five days total, including acclimation, demolition, subfloor prep, installation, and trim work. Whole-home projects run one to two weeks, depending on square footage and material type.
Do I need to move all my furniture before the installation crew arrives?
Yes. The rooms being worked on need to be completely cleared of furniture, rugs, and personal items. Some homeowners handle this themselves, and others coordinate movers.
Can I stay in my home during the flooring installation?
In most cases, yes. We contain dust and noise in the work area. You'll want to keep pets and small children away from the active zones, and plan on limited access to rooms being worked on each day.
How long do hardwood floors need to acclimate before installation?
Solid Hardwood and Engineered Hardwood typically require 3 to 5 days of acclimation in the room where they'll be installed. SPC Luxury Vinyl is more dimensionally stable and typically only needs 24 hours to set.
What happens if the subfloor has moisture problems?
We test moisture levels before installing anything. If readings are too high, we identify the source and fix it before proceeding. Installing over a wet subfloor can cause warping, cupping, and mold growth.
Will there be a lot of dust during the installation?
Demolition and cutting generate dust, but we use containment measures, including plastic barriers, register covers, and exterior cutting stations to minimize the impact on the rest of your home.
Do you remove and dispose of the old flooring?
Yes. We handle the complete removal of existing carpet, vinyl, tile, or other flooring, including haul-away and disposal. You won't need to arrange a separate dumpster or waste pickup.
What's the difference between floating, nail-down, and glue-down installation?
Floating floors click together and rest on underlayment without fasteners. Nail-down floors are secured with a pneumatic nailer through the tongue. Glue-down floors are adhered directly to the subfloor. The right method depends on your material and subfloor type.
Can you install new flooring over existing floors?
Sometimes. SPC Luxury Vinyl and some Engineered Hardwood products can go over existing hard surfaces if the subfloor is flat and structurally sound. We'll assess your specific situation during the estimate.
What kind of maintenance do new floors need after installation?
Sweep or vacuum regularly, clean with manufacturer-recommended products only, and maintain indoor humidity between 35% and 55% year-round. Avoid wet mopping hardwood, and use felt pads under furniture legs to prevent scratches.
Conclusion
A flooring installation process that's done right is methodical, not rushed. Every phase - from acclimation and subfloor prep through installation and the final walkthrough - builds on the one before it. That's how you end up with floors that look beautiful on day one and still perform a decade later.
If you're planning a flooring project on the North Shore or anywhere in the greater Boston area, we'd love to walk you through the process in person. Call CabStone at 617-699-3945 or visit us at 325A North Main Street, Middleton, MA 01949 to get started.